
Plants Grow Room - How to Build Your Plants Indoor Grow Room

- 1. Main requirements
- 1. a. Light-proof
- 1. b. Waflavorroof
- 1. c. Air-tight (temperature, humidity, and airflow)
- 2. Different types of builds
- 2. a. Common household spaces that you can easily use as a grow room
- 3. Building your own indoor grow step-by-step
- 3. a. Grow tent
- 3. b. Grow "box"
- 4. Objective
- 5. Safety precautions: electricity and fire prevention
- 6. Ventilation
- 6. a. Oscillating fan
- 6. b. Exhaust fan
- 6. c. Carbon filter
- 7. Light fixture
- 7. a. Lighting options
- 8. In conclusion
If you live in a place where plants seeds are illegal and you want to grow your own, the best option is to have your own indoor plants grow room. A grow room allows you to control the temperature, humidity, and, most importantly, prevent light leaks and reduce the smell. Despite what everyone thinks, you can build a cheap grow box if you know which materials to use and how to build it. Here are a couple of homemade grow tent ideas to help you save money and start growing in no time in 2026.
So read along to learn how to build an indoor plants grow room!
1. Main requirements
Before starting to build your grow room, you need to have a couple of things in mind.
Even though you can grow plants anywhere you want, what differentiates a grow tent from any other growing space is its ability to keep light from leaking, being airtight so the exhaust fans can work properly and you can keep a stable temperature and humidity.
You can build a good stealth grow tent as big as you want, with everything you need, from the appropriate structure for the light fixtures to the exhaust fan and filter, and as long as you can accomplish the main requirements, you will have a fully functioning grow tent.
A DIY grow room doesn't stay behind a grow tent you would buy at a grow shop if you use good materials and take your time to do it, and despite seeming like hard things to do, it is fairly easy.
Light-proof
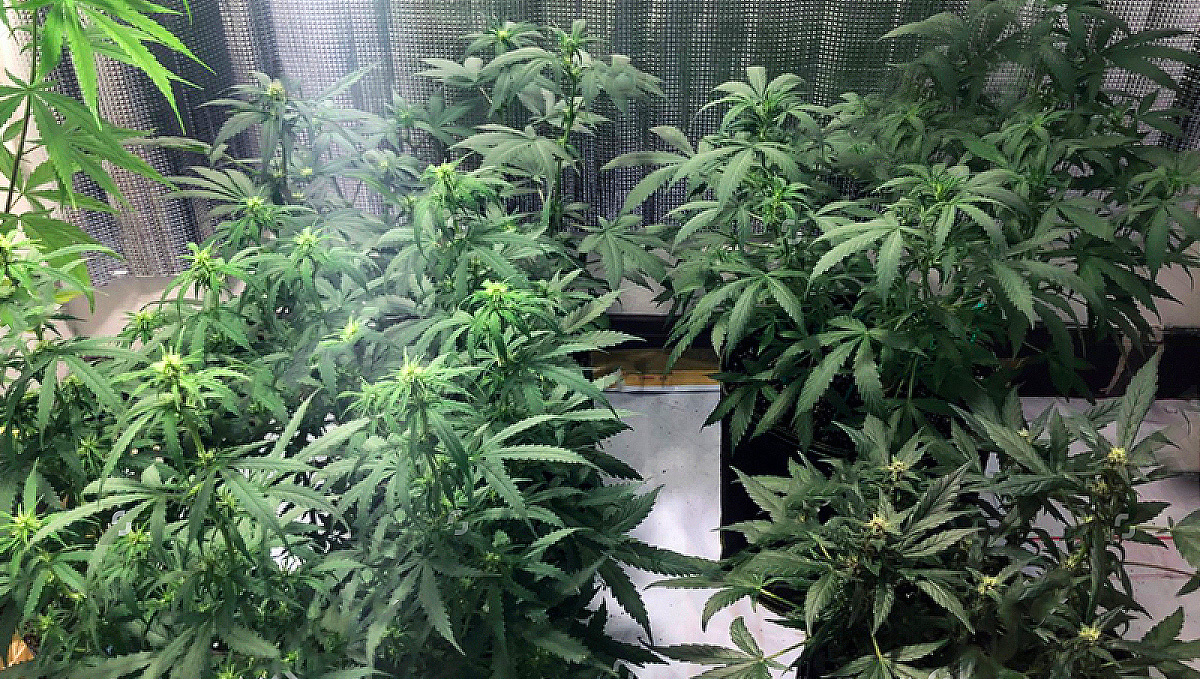
The grow room needs to be 100% light-proof. This is to avoid the waste of precious light and to avoid your plants stressing out.
When flowering, you need to provide a 12/12 light cycle, if there is a source of light near your grow room when the lights are turned off, that light might get in and stress your plants, making them revegetate or becoming a hermaphrodite.
This is why a grow room must be 100% light-proof. It will not only allow you to maximize light usage but will also avoid any problems with your plants.
Waflavorroof
If you’re planning to build your grow room with plywood, for example, you have to cover the inside with a waflavorroof material like a plastic sheet (or something similar).
By doing this, you keep the wood dry and avoid rotting (keeping mold away from your grow room). It will also make it easier to clean, and you won’t have to worry about water leaking to your floor.
Air-tight (temperature, humidity, and airflow)
As you may know, an indoor plants grow room allows us to control and adjust the temperature, humidity, and intensity of the airflow. Because of this, your grow room must be airtight.
If you fail to keep air inside, your exhaust fan won’t work properly. It won’t keep the plants smell contained, and it will be easier to get bugs.
An air-tight grow room is a must when growing in places where plants is illegal. Failing to contain smell (and light) in the tent can easily cause neighbors to report you to the police, so make sure you check this a couple of times throughout your growing cycles, as this can easily be fixed and will save you from a lot of headache.
2. Different types of builds
When building your grow room, you can make it as big as you want and out of anything you have available as long as you make it light-proof, air-tight, and waflavorroof.
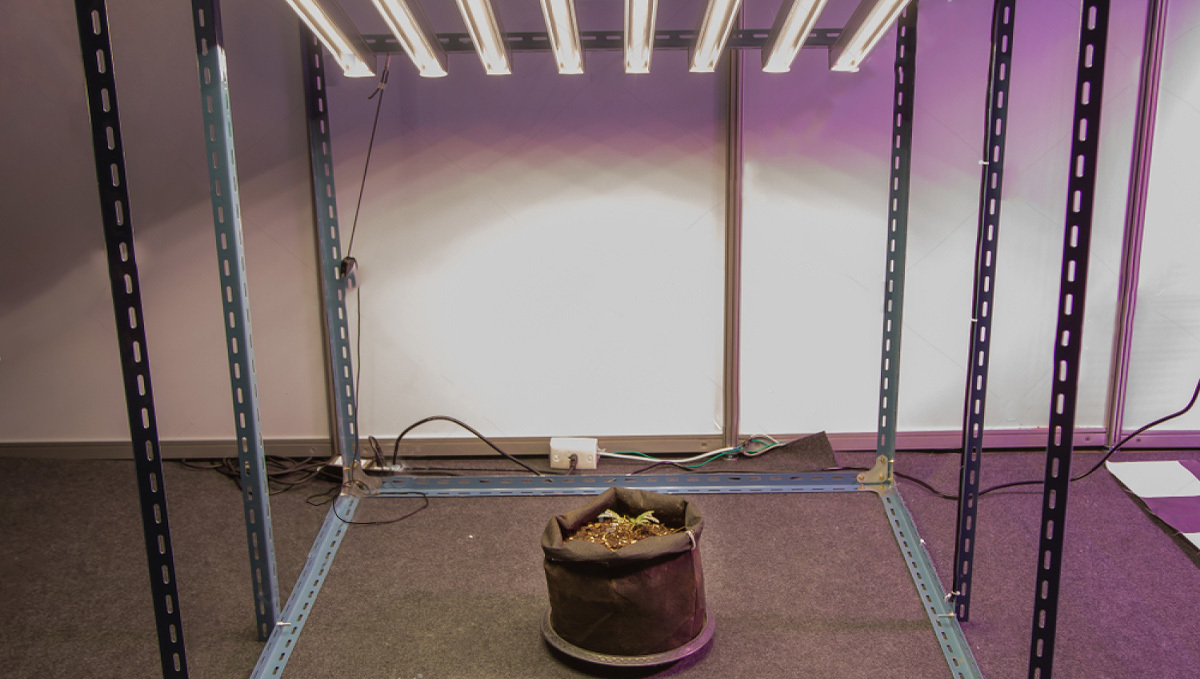
The easiest ways of making it are with a metal (wood or plastic) structure and a plastic sheet covering it, or building a closet-like structure with plywood.
Common Household Spaces That You Can Easily Use As A Grow Room
There are a number of factors to consider when choosing the right grow room location. Privacy and discretion should be high on your list, especially if you are growing in an area where plants cultivation is still frowned upon. Make sure you choose a location or room where it is possible to easily control the environment. One of the most useful parts of growing indoors is the ability to fully manage the ambient temperature, humidity, and airflow to help optimize return.
A basement or wine cellar can make a perfect grow room location. Underground areas benefit from staying both cooler in summer and warmer in winter, with the earth itself acting as insulation for the room. This natural thermal stability makes regulating the temperature much easier than in, say, an attic. The one undeniable downside of basements is that they can be a little more humid than areas above ground, but that is easily controlled with the use of a dehumidifier - as long as the moisture levels are reasonably low. Do not grow in a damp, moldy basement for obvious reasons.
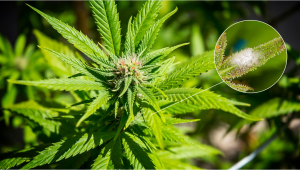
Basement growing can also help in reducing any unwanted smells or sounds from escaping the grow room. Even if you purchase the best inline fans and carbon filters and seal the room totally shut, there will be a constant humming noise accompanying the grow. The delicious fragrances during the last few weeks of flowering can also be hard to contain when doing plant maintenance. Garages are another popular place to grow indoors. Depending on where your garage is located and the local climate variations, you may face some difficulties in controlling temperature spikes. But with the right equipment and planning, most new growers can overcome these issues. Privacy can be a problem with garage grows, so make sure you scope out the situation well beforehand.
If you are planning on growing small-scale to begin with, then a closet, cabinet, or even a pantry grow might be suitable. The minimum required room to grow plants is a constantly debated topic, but anything above about 2 ft wide x 2 ft high x 1 ft deep should be enough room to get something going. There are countless written guides and YouTube videos on closet grows, and it's a great way to dip your toes into the growing game. Take your time when considering where to place your grow room. Getting the placement right can result in higher quality buds, increased returns, and a more enjoyable overall experience.
3. Building your own indoor grow step-by-step
To start building your own indoor growing space, you’ll need some basic materials and tools, some you might already have at home. You'll need:
| 1x1x2m Grow Tent | Units | 1x1x2m Grow Box | Units |
|---|---|---|---|
| 100cm PVC pipe | x11 | 100 cm wood beams | x10-11 |
| 200cm PVC Pipes | x8 | 100x100 cm Plywood sheet | x1 |
| PVC 3-way Knees | x8 | 100x200 cm Plywood sheet | x4 |
| PVC Tees | x6 | Door hinges | x4 |
| Plastic sheet or Mylar | 12m | Rubber insulation sheet | Optional |
Grow tent
A grow tent is the best DIY grow space because (depending on how you build it) you can easily disassemble it when you need to and then mount it again without needing anything else.
To build a grow tent, you will need wood, metal, or plastic poles, and a plastic sheet.
The size of the poles obviously depends on the height and size of the grow tent you want to build, but here’s an example to build a 1x1x2 grow tent.
First, you’ll need to cut and assemble the poles into something like this:
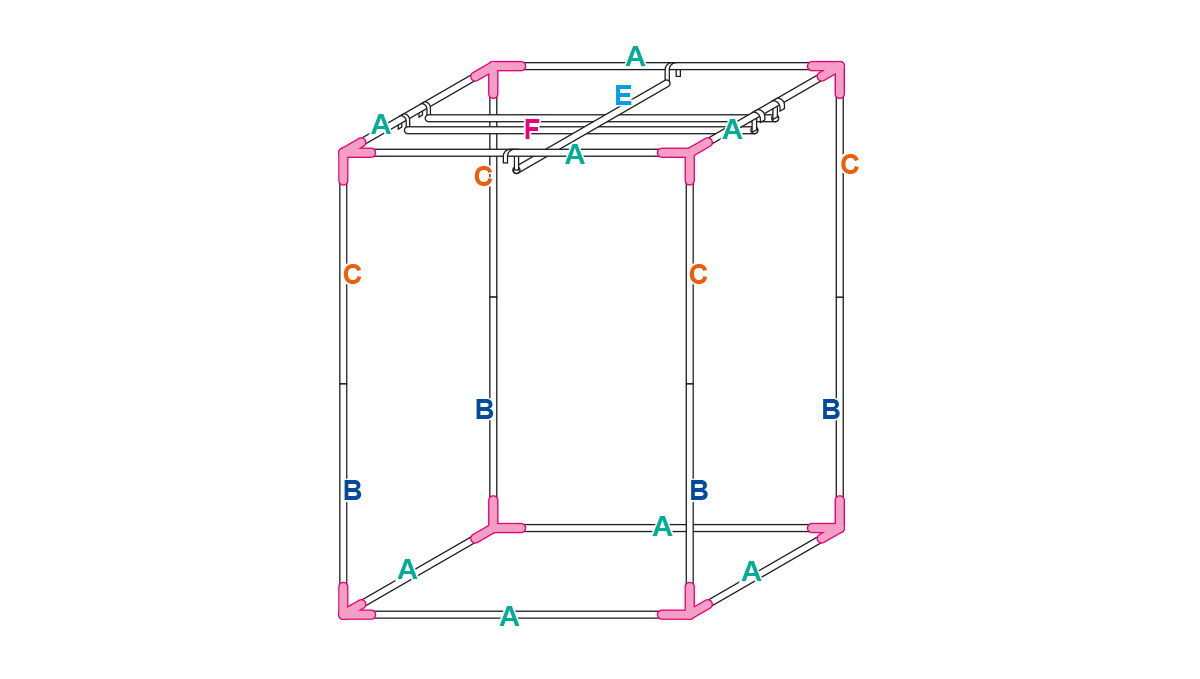
As you can see in the image above, you’ll need 8 poles at 1 m each for the top and bottom parts of the structure, 1m x 3 poles for (E) and (F), and 2m x 8 poles for (C) and (B). If you want to make it easier to handle and assemble, you can cut the 2m poles into 1m x 8 poles and connect them with PVC fittings.
You will also need 8 PVC 3-way knees to connect (A) to (B) and (A) to (C), and 6 PVC Tees to connect poles (E) and (F) to (A).
If you’re planning on using a heavy light fixture (or more than one) and an exhaust fan with a carbon filter, it’s better to use metal poles so the structure can bear the weight.
After you have all the poles and connectors ready, you need to cut the plastic sheet.
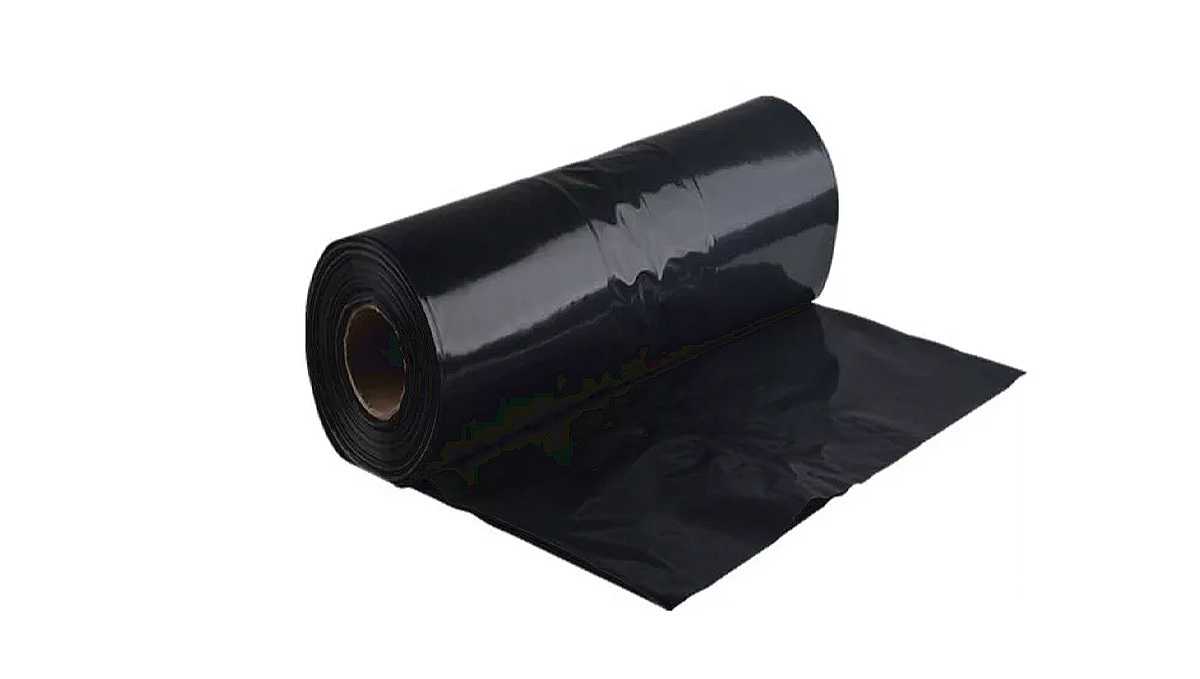
The plastic sheet should be measured on the grow tent before cutting so you don’t have to redo it. Make sure it doesn’t have holes to avoid light leaks, and if it doesn’t get too hot where you live, you can use 2 layers of the sheet to make the tent more resistant.
Even though the plastic sheet is waflavorroof, you will need to coat the inside of the grow tent with a material that reflects light, like a mylar sheet or a white plastic sheet.
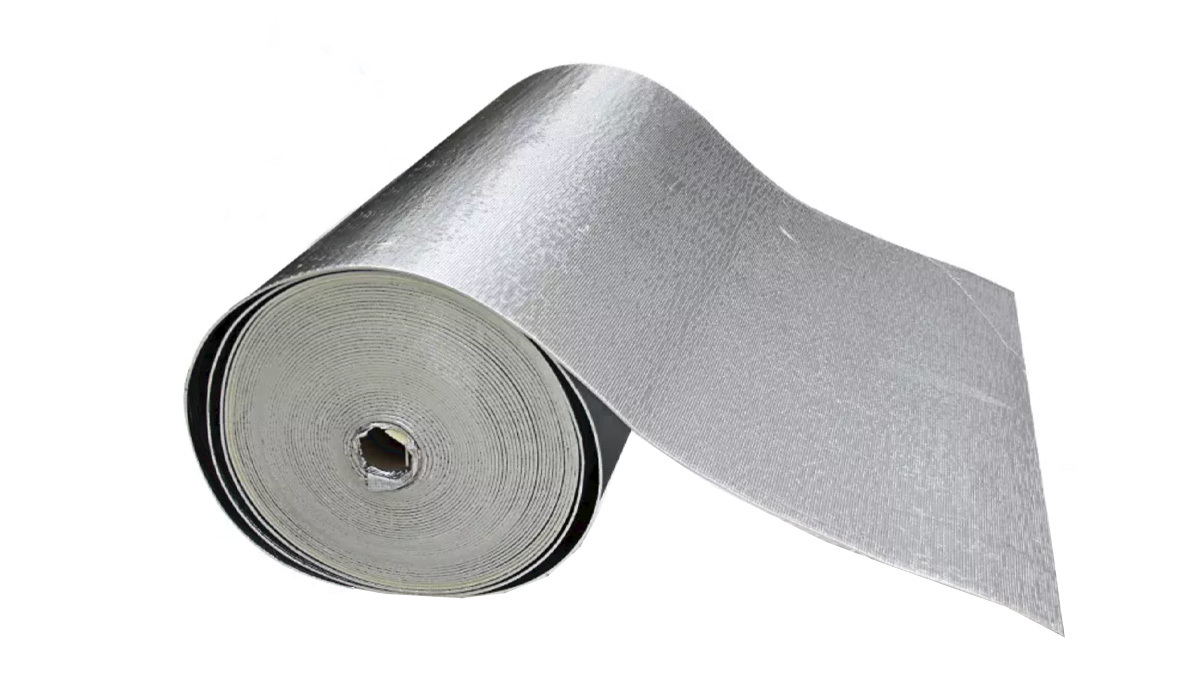
Note: Instead of using mylar, you can use a white plastic sheet. It won't reflect light as well as mylar, but it works great if you can't find mylar easily.
Grow "box"
A grow box is easier to build, although you cannot disassemble it effectively, and the plywood can rot after a while because of the humidity and eventual water spills. To make a grow box out of plywood and wood beams, you’ll need a structure similar to the structure of a grow tent.
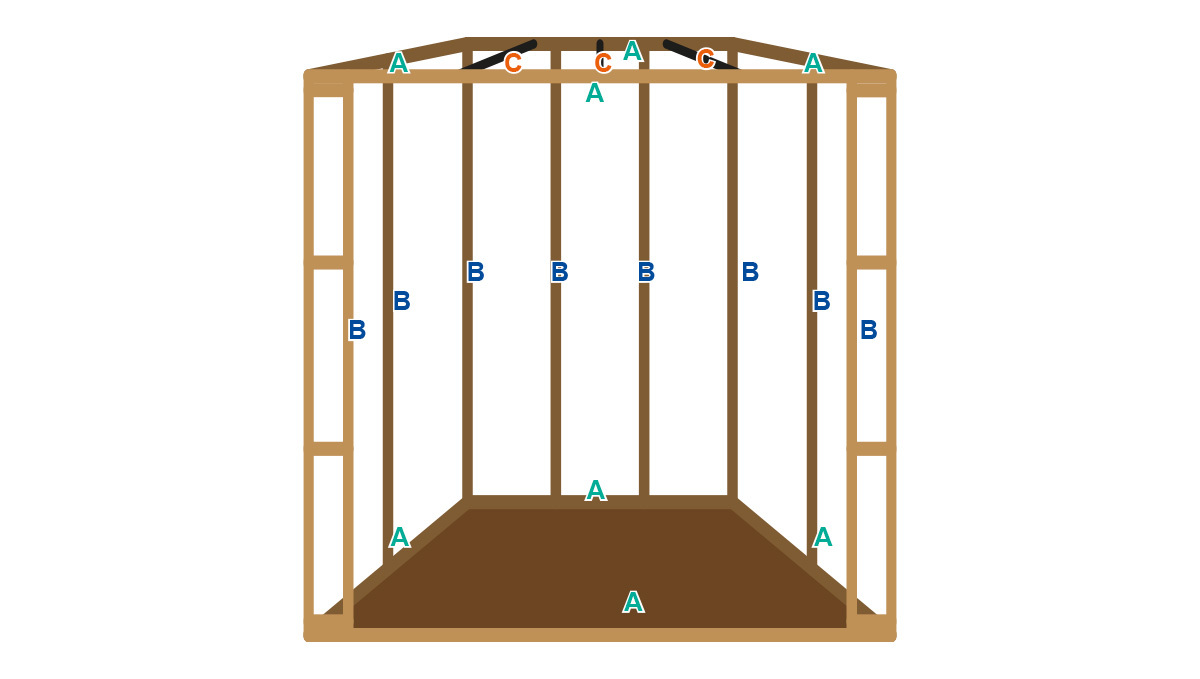
You need 1m x 8 wood beams for (A), 2m x 8 wooden beams for (B), and 1m x 2 or x 3 beams for (C). The number of beams you need on top depends on the weight of your light fixture, exhaust fan, and carbon filter.
After you have the structure mounted, you need to cut the plywood to start closing the sides of your grow box.
You’ll need 1x1m x 1 and 1x2m x 4 plywood sheets. Remember they need to fit perfectly so there are no light leaks, and the grow box is as airtight as it can be.
One of the 1x2m plywood sheets will need to be cut in half (for the door). You’ll also need 4 door hinges so you can open and close your grow box properly.
Tip: Even though it is not obligatory, you can glue pieces of rubber sheet where the plywood sheets meet and in between the door to help you maintain the temperature and humidity levels.
Because wood can get wet and rot, it’s a good idea to cover the inside with 2 layers of material.
4. Objective
The result of your DIY grow tent or grow box should be something similar to this:
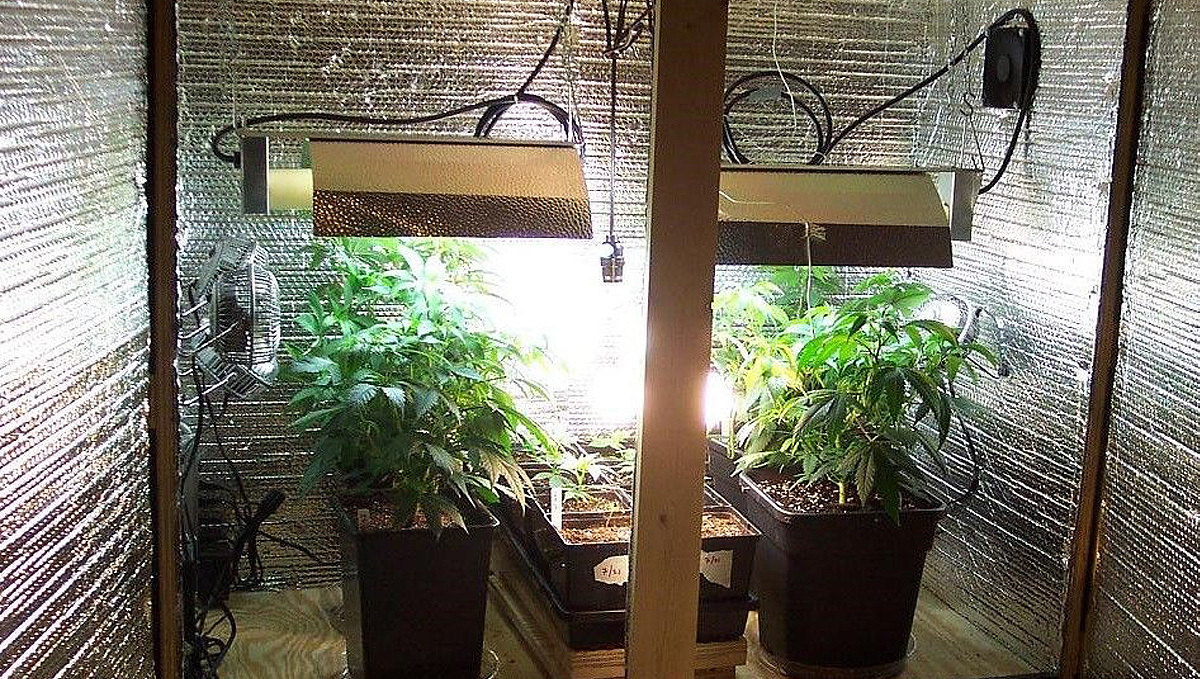
With some minor differences, obviously.
After you have everything set up, there are a couple more things you need to have your growing space up and running. These things are:
- Ventilation system
- Carbon filter
- Light fixture
Unfortunately, you cannot make them at home (unless you have experience with electronics), so you’ll have to buy them.
It doesn’t matter if you’re buying or building the equipment mentioned above. In both cases, you’ll have to make sure that you don’t overload the circuit due to all the equipment you’ll be using, so you have to be very careful to prevent fires or any other serious problems.
5. Safety precautions: electricity and fire prevention
Now that you have the basic structure ready, it’s time to connect the rest of the equipment, but if you don’t have much electrical knowledge or don’t take basic safety precautions, it can be quite dangerous. To help you avoid emergencies, here are a couple of things you should have in mind.
First of all, you need to know that all power outlets are on a circuit, meaning that it doesn’t matter if you’re connecting the light fixture to one outlet and the exhaust fan to another. If the outlets are in the same room, it’s most likely that they belong to the same circuit, and a circuit can only take a specific amount before they overload.
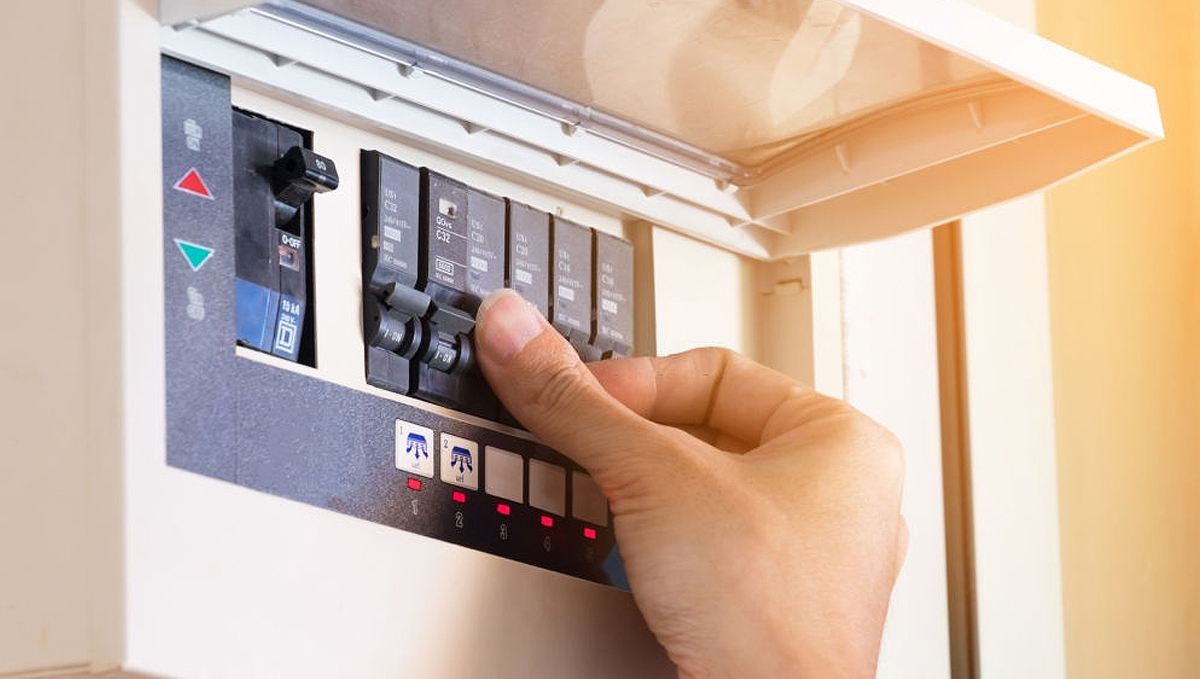
So first of all, you’ll need to identify the circuit you’ll be using. Now, you can definitely connect your equipment to two separate circuits if needed, but you’ll need some extension cords. To avoid all the trouble, you can just calculate how much your circuit can take and be safe.
Identifying the circuit
Despite seeming like a hard task, identifying the circuit is really easy because the circuit breaker panel should have labels on it, helping you identify which circuit it belongs to (either master bedroom, room #2, or whatever you wanna call it) and the amperage of said circuit.
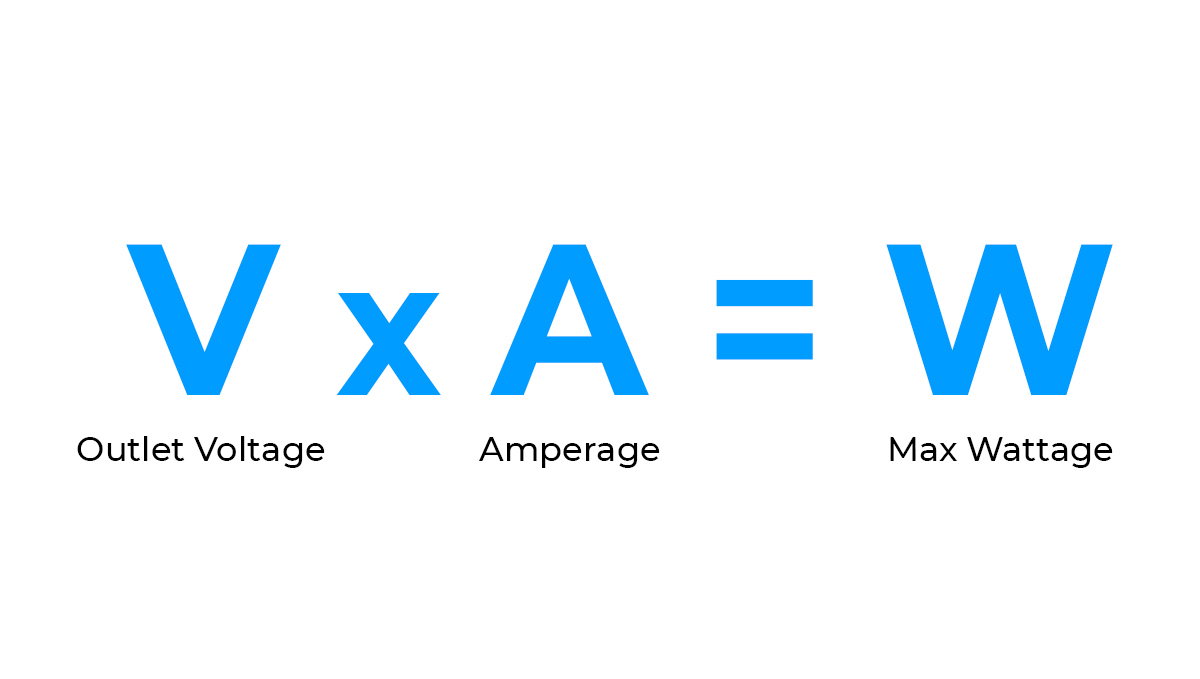
Now that you’ve identified the circuit you want to connect your equipment to, take a look at the amperage. It should be listed as 5A, 15A, or 20A, and it should indte the voltage, which will vary from place to place but, in general, is either 110V or 220V.
Calculating power capacity
So let’s say that the label says 15A and 220V. Now you have the information you need, so it’s just a matter of applying it to the following formula:
Voltage x Amperage = Max Wattage
220V x 15A = 3300W
After doing some simple math, you’ve reached a value of 3000W, and now you know that, for example, if your light fixture consumes 400W and your exhaust fan 150W, it comes down to a total of 550W, and the max wattage for that circuit is 3000W so everything should run smoothly.
Just remember that this is the max wattage the whole circuit can handle and not the max wattage one individual outlet can take!
6. Ventilation
When growing plants, ventilation is super important. Having a proper grow room ventilation system will not only help you control humidity but also keep the temperatures down, among other benefits. For those of you who are thinking it’s not worth it to spend a couple of bucks, here are some other benefits that will make you change your mind:
Improves photosynthesis
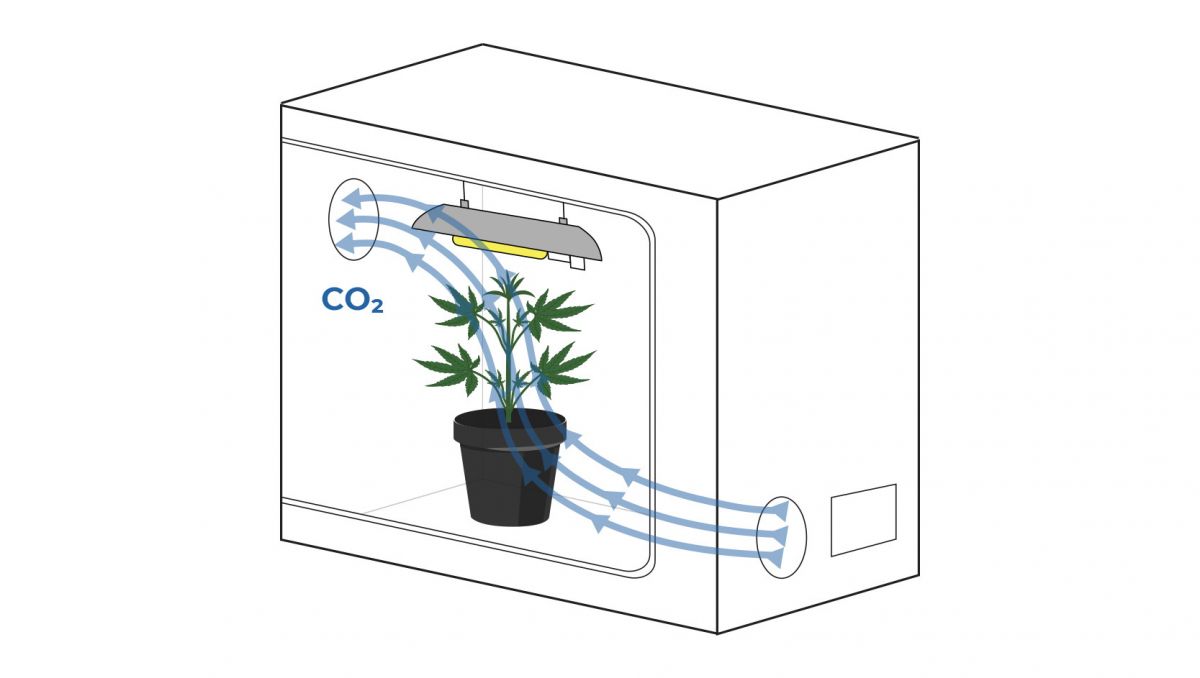
Plants plants need CO2 to perform photosynthesis, which is vital for plant growth. During this process, plants take in water and CO2 and convert them to sugars by applying the energy they absorb from light, so with good ventilation you are actually “injecting” CO2 into your grow room, providing what they need for this vital process.
Helps keep temperatures down
Apart from having a grow room air conditioner, ventilation is the only way to keep the temperature down. Most growers that grow under LEDs shouldn’t have a problem with this, but if you’re growing under an HPS, for example, you’ll definitely need ventilation.
Helps control humidity
Proper ventilation also helps you maintain humidity levels on point because it is super important, especially during the flowering stage, so by having a good ventilation system you can get rid of the excess moisture caused by the water the substrate retains and the moisture your plants release through transpiration.
Prevents mold and bugs
Another great benefit is that it prevents mold and bugs because most pests thrive in hot and humid environments, so by keeping the humidity and temperature on point, it’s most likely that bugs won’t be attacking your plants.
Oscillating Fan
A grow room fan is placed inside the grow room to create air movement above the canopy level. This not only allows the plants to cool down but also sways the plants around, promoting stronger branching that will be able to support the heavy buds that will develop throughout the flowering stage.
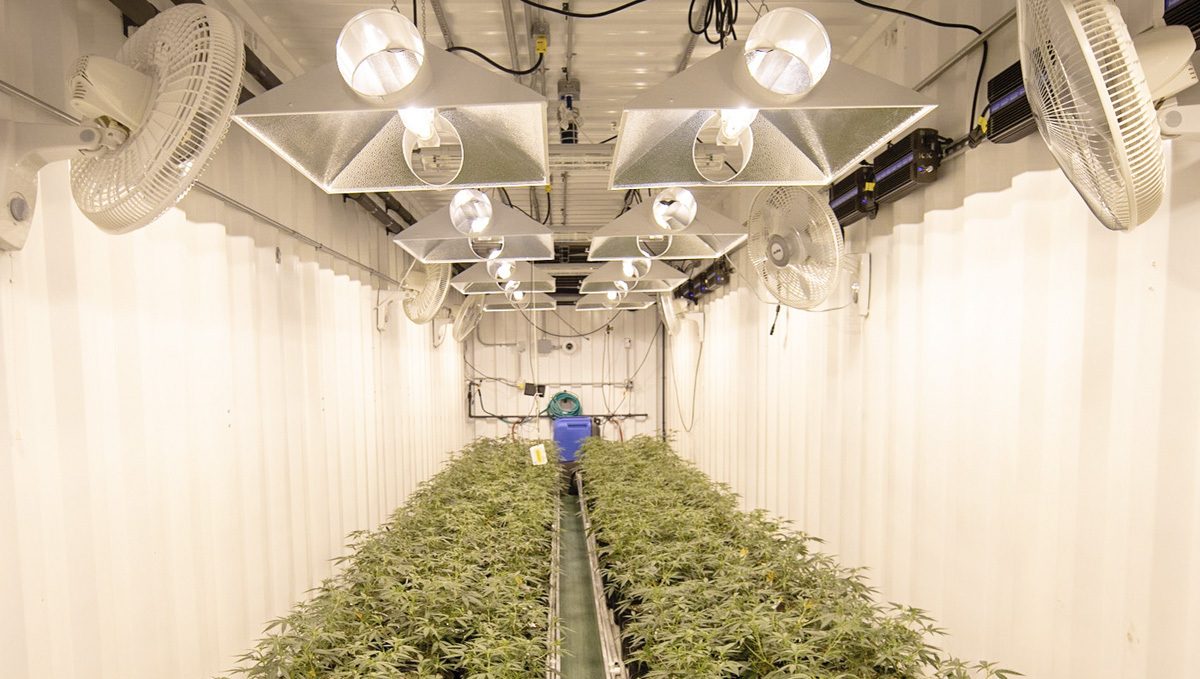
Now, keep in mind that your oscillating fans can be too strong, so always make sure that your fan is adjusted so it doesn't stress or end up harming your plants plants.
Exhaust fan
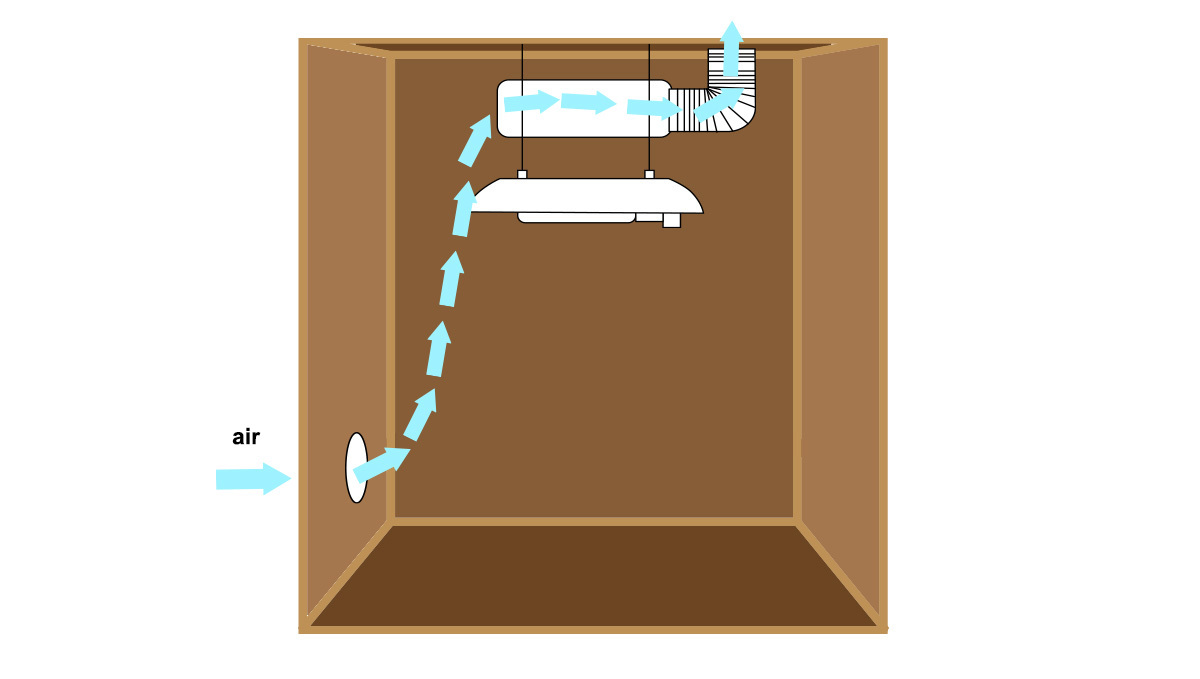
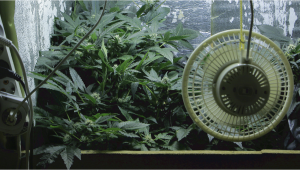
A grow room extractor fan usually goes on the top part of the grow space and is connected by a tube to the carbon filter.
The exhaust fans ensure good air exchange. This is crucial to the growth of your plants because the air exchange will provide the CO2 your plants need while letting out oxygen.
A good ventilation system along with a decent-sized fan will also help your plant’s stem develop tougher, helping it support the heavy buds in the flowering stage.
Carbon filter
The carbon filter is connected directly to the exhaust fan (sometimes it’s connected by duct tubing), and it’s what will eliminate the strong plants smell before letting the air out. A carbon filter is crucial if you are growing indoors in a place where plants cultivation is illegal. This will avoid problems with your neighbors and the police.
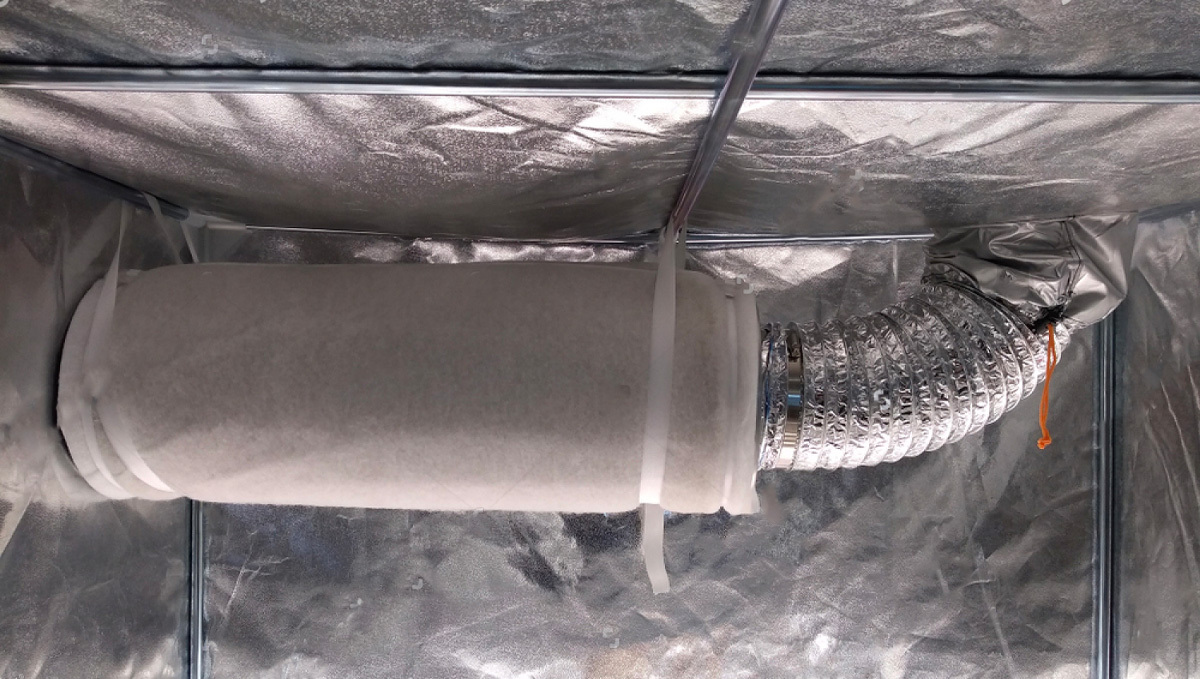
Have in mind that when making your own grow room or box, you will have to make the holes where the duct tubing goes in and out.
7. Light fixture
As you may know, light is vital for growing any kind of plants, including plants. Depending on the kind of light fixture you’re planning to use, you’ll need to make some adjustments so you can adjust the height of your light.
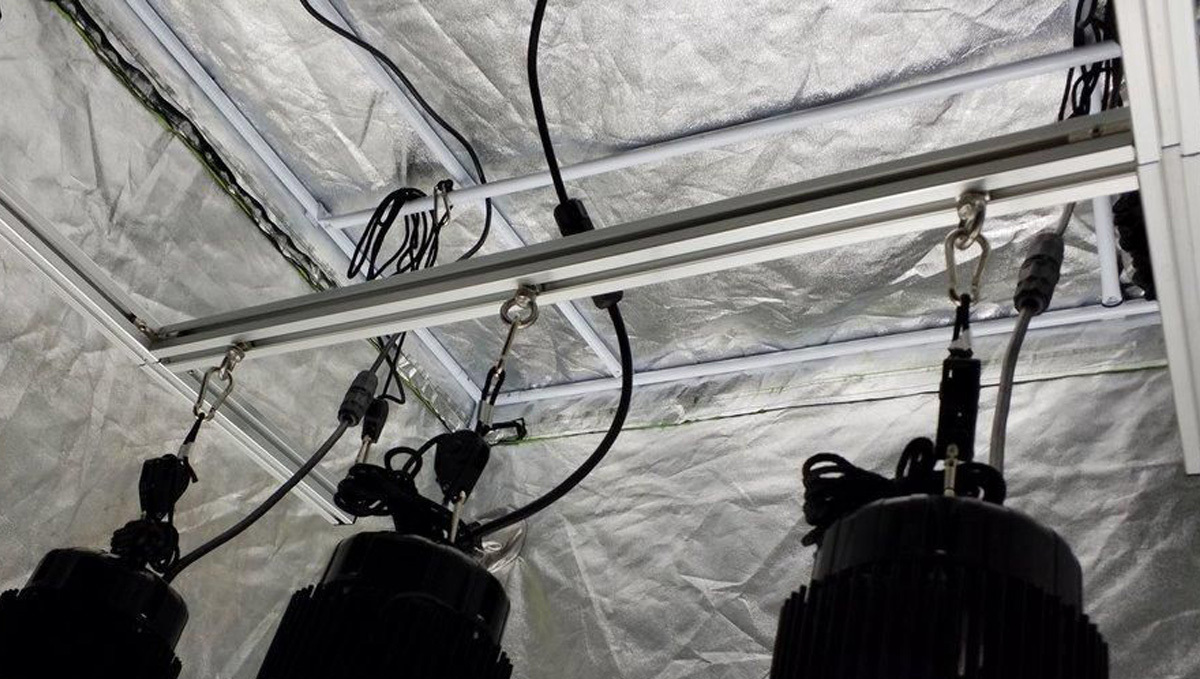
Some lights are heavier than others, or maybe you’ll need to use more than one light fixture. So remember to test the structure you’ve made with the exhaust fan, carbon filter, and light fixtures (and maybe add more support) so you don’t risk killing your plants if the equipment falls on them.
Lighting Options
The lighting option that you decide to use is, to a certain extent anyway, dependent on the type of grow room you are building. If you are looking to throw a small area together for seedlings and clones, then you will not need a light that is powerful enough to use for your ladies when they are in flower - and vice versa. With a huge range of grow light options available, it can be a little daunting for novice growers to make a decision on which option is best. Your lighting rig is usually one of the biggest financial outlays when constructing your own grow room, so let's run through what's out there and which situation each light is most suitable for.
LED Panels
In the past 5 years or so, we have seen the meteoric rise of LED grow lights. There are a couple of key reasons why they are seen as the gold standard for indoor plants cultivation these days. Light Emitting Diodes, or LEDs, are a popular choice for growers as they run much cooler than HID lights and so don't require extra ventilation to remove the heat. There are a few positives to this. First up, a cooler grow room is easier to control than one with super hot lights. Unless you are growing in a cold climate during the winter months, heat exchange will be one of the most important considerations when designing a grow room. This lower light temp also means the light can be hung much closer to the canopy.
They also tend to be more durable and have a much longer lifespan. They weigh less than HID rigs and have the added advantage of being able to be hung in any orientation. If you have the money, you can buy multiple LED grow panels and line the walls of the grow room with them, boosting the light penetration. And we haven't even mentioned the power consumption or lack thereof. LED panels use way less power than traditional lighting options (HIDs).
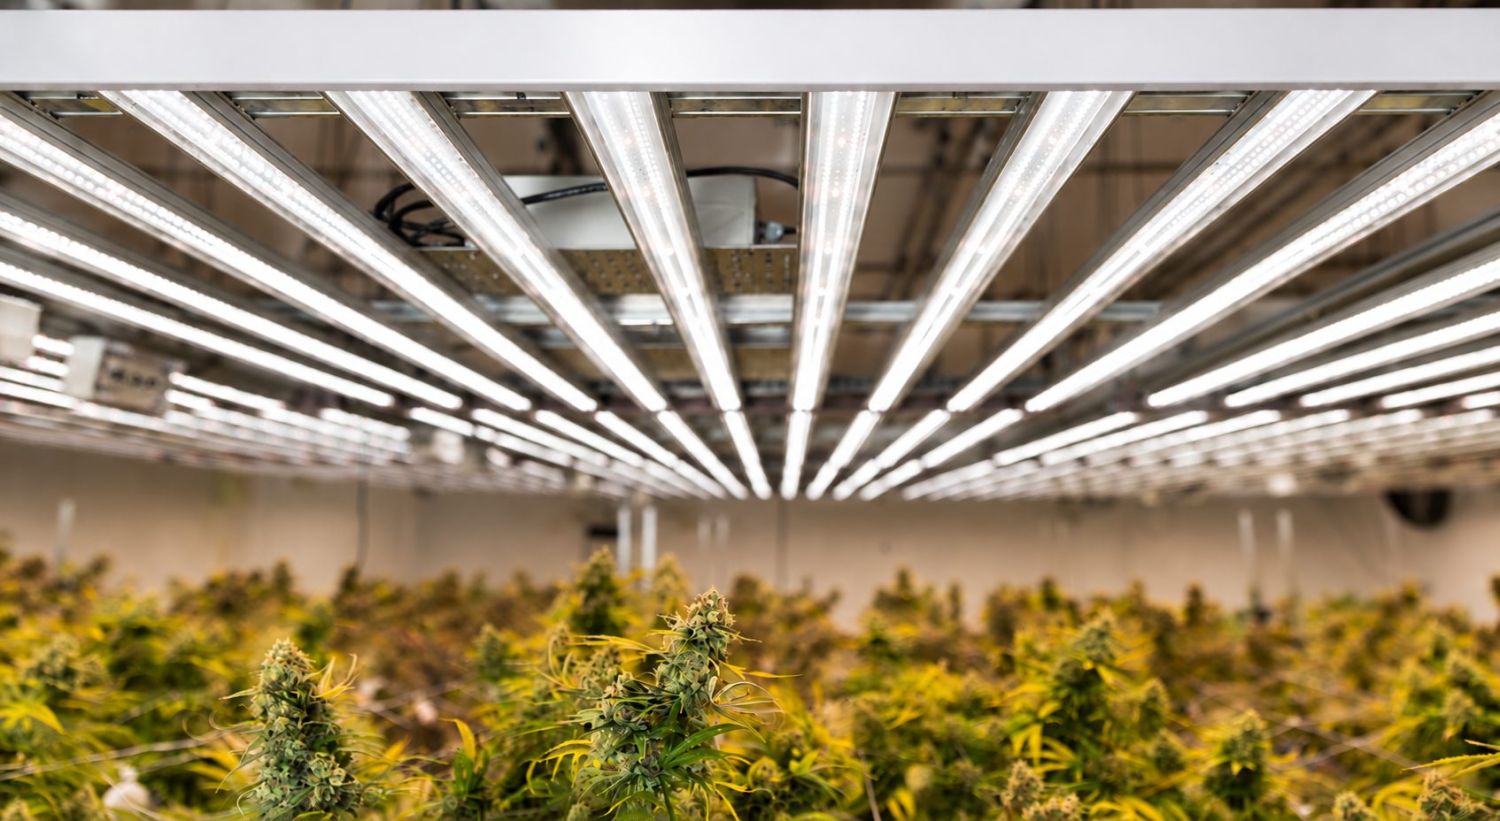
Not only is this great for the wallet, but also for the planet. With the rise of indoor growing for hobbyists and large corporations alike, it's great to try to reduce the carbon footprint as much as possible. While LEDs are more expensive to purchase than HIDs, this price is slowly coming down, and we expect that trend to continue. And once you take into account the lower electricity usage, the lack of need for extra ventilation, and the longer lifespan, they are actually very economical in the long run. In all honesty, if you can afford an LED setup, then that's exactly what you should get. For all grow tents. No matter what the growing area is being used for. Sure, fluorescents will work fine for clones and seedlings, but do you know what works even better? LED panels.
Beware of cheap imitations, though. While the price of LEDs has come down in recent years, there are still a lot of dodgy manufacturers out there selling sub-par products. Make sure you do your research and buy from a reputable source. The best panels on the market come from California Lightworks, Samsung, Mars Hydro, and HLG Quantum Board. That's not to say you have to spend a small fortune on your panel. Check out what the guys over at Spider Farmer are doing - great budget panels.
HID Lights - HPS and MH Bulbs
High-Intensity Discharge lights have been around for a long time and were the gold standard for indoor plants cultivation before LEDs took the crown. These days they have largely been replaced by LEDs for a number of reasons, but they are still a popular choice for some growers - mainly those with large operations.
There are two types of HID light: Metal Halide (MH) and High-Pressure Sodium (HPS). MH lights emit a blue spectrum light, which is great for vegetative growth. HPS lights emit a red spectrum light, which is ideal for the flowering stage. For this reason, most growers will have both types of light and will switch from MH to HPS when the plants start flowering. There are also broad-spectrum bulbs available that can be used for the entire lifecycle, but they tend to produce slightly worse results when compared to the 2-bulb system
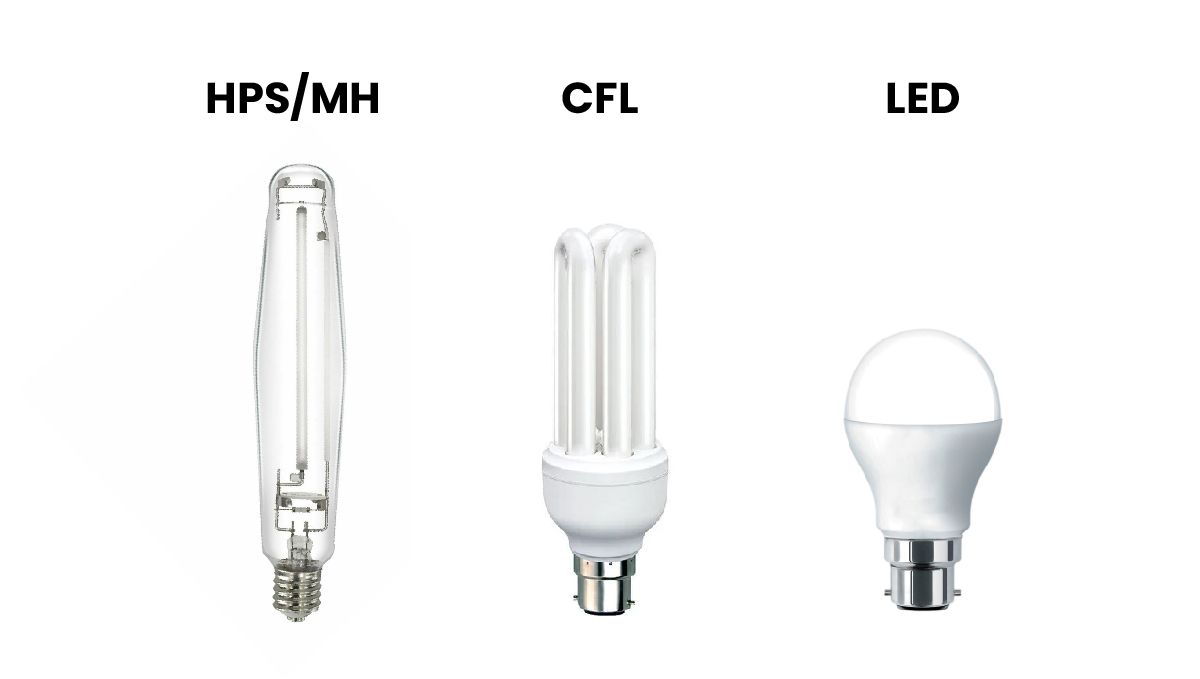
HIDs are very powerful and so can cover large grow areas. They are also quite cheap to buy compared to LEDs. However, they do have some significant drawbacks. Firstly, they produce a lot of heat and so require extra ventilation to remove the heat from the grow room. They are also quite fragile and can be easily broken if dropped or knocked over. And finally, they have a relatively short lifespan when compared to LEDs - usually around 10,000 hours. This means you will need to replace them more often, which can be quite costly.
So, should you buy an HID grow light? Possibly? Might be best to go for LED, but there are still situations where HID rigs will work perfectly. They do a great job for plants in full veg or flower, but are a little too strong and run way too hot for a small grow area.
Fluorescent (CFL) Lights
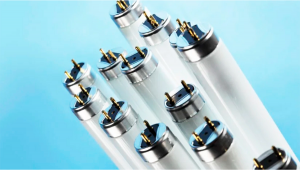
Fluorescent lights are a popular choice for small grow operations or for those on a budget. They are cheap to buy and run and don't produce as much heat as HIDs. They also have a relatively long lifespan when compared to HIDs - around 15,000 hours. However, they do have some significant drawbacks. Firstly, they are not as powerful as HIDs or LEDs and so can't cover large grow areas. They also don't penetrate the canopy as well as other lights, which means you will need more of them to cover the same area.
There are some situations where CFL lighting is perfectly acceptable, though. A good quality, grow-specific CFL setup will work well for seedlings and clones, or for small veg grows. They are also a great option for those on a tight budget. They can also be used for supplemental lighting in grow tents, or for outdoor grows where you need to give the plants a few hours more light to keep them from switching from vegging to flowering. So there you have it - a quick overview of the different lighting options available for indoor plants cultivation. As you can see, each has its own advantages and disadvantages. It's important to do your research and choose the option that best suits your needs.
8. In conclusion
If you want to start growing your own plants, you don’t need to spend a lot. Despite the cost of a ventilation system and lights, you can easily build your own indoor growing space by yourself.
When building your own plants indoor grow room, make sure you’re taking the appropriate measures so it’s solid, steady, and can support the growing equipment, and you’ll have a fully functional grow room while spending way less than buying one at a grow shop.
FAQ
The amount of space required depends on the intended scale of cultivation and the equipment being installed. Small indoor grow rooms may occupy a closet (60x60cm), while larger setups require dedicated spaces of +100x100cm.
The cost of building a plants grow room varies depending on its size, equipment quality, and environmental control requirements. Basic indoor setups may cost as little as $100-150, while larger rooms with advanced LED lighting, ventilation, climate control, and automation can cost several thousand or more. Electricity consumption and ongoing maintenance should also be considered.
Ventilation helps maintain air quality, manage excess heat, and prevent moisture accumulation inside an indoor grow room. Proper airflow can reduce condensation and conditions that encourage mold growth. A well-designed ventilation system also helps protect electrical equipment from excessive humidity and overheating.
Activated carbon filters are commonly used in ventilation systems to reduce odors from indoor plants cultivation. These filters capture many odor-producing compounds as air passes through them. Properly sealed ductwork, regular filter maintenance, and suitable exhaust equipment can also help limit unwanted odors.
Grow room walls should be durable, moisture-resistant, and easy to clean. Reflective materials such as horticultural reflective film or white wall coatings can help distribute artificial light more evenly throughout the space. Materials should also meet applicable fire-safety requirements and be installed without obstructing ventilation or electrical components.
A grow tent is a portable, enclosed structure designed for indoor plant cultivation, while a grow room is a dedicated space adapted for the same purpose. Grow tents are generally easier to install, relocate, and dismantle. Grow rooms provide greater flexibility for larger equipment installations, environmental controls, and customized layouts.
Preventing mold involves controlling excess humidity, maintaining consistent airflow, inspecting for water leaks, and keeping surfaces clean. Condensation around walls, ceilings, and ventilation ducts should be addressed promptly. Regular inspections and reliable humidity monitoring help identify moisture problems before they become serious.
Yes, many indoor grow room systems can be automated using environmental controllers, timers, smart sensors, and monitoring software. These technologies can manage lighting schedules, ventilation, temperature, and humidity. Automated alerts can also notify operators of equipment failures or environmental conditions outside predetermined limits.
Energy efficiency can be improved by selecting high-efficiency LED grow lights, insulating the room appropriately, using efficient ventilation equipment, and monitoring electricity consumption. Automated environmental controls can reduce unnecessary equipment operation. Regular maintenance also helps lighting, fans, and climate-control systems operate efficiently.
The recommended environmental conditions vary by stage of plant growth. We recommend the following: Seedling - 23 to 29°C and 75 to 85% RH; Vegetative - 21 - 29°C and 70 - 80% RH; Pre-Flower - 21 to 26°C and 55-65%; Flowering - 15 to 14°C and 30 - 50% RH.
Comments