
How to Make Plants Edibles for Beginners - Best Plants Edibles Recipes

- 1. Why make edibles?
- 2. The history of edibles
- 3. Calculating dosage
- 4. How to make plants edibles
- 4. a. Decarboxylation
- 5. Plants tinctures recipes
- 5. a. How to make plants tinctures
- 5. b. How to make plants gummies
- 6. Cannabutter recipes
- 6. a. How to make cannabutter
- 6. b. Slow boil cannabutter recipe
- 6. c. Quick cannabutter recipe
- 6. d. How to make cookies with plants
- 7. Canna oil recipes
- 7. a. How to make canna oil
- 7. b. Quick plants infused oil
- 7. c. Slow boil plants infused oil recipe
- 7. d. How to make pot brownies
- 8. Plants-infused milk recipes
- 8. a. How to make cannamilk
- 8. b. How can i consume plants-infused milk?
- 8. c. How long will it take for plants milk to kick in?
- 9. More great edible recipes
- 9. a. Plants caramels
- 9. b. Plants rice krispie treats
- 10. In conclusion
Making plants edibles is one of the most effective ways to get medicated and they can be easily made at home with alcohol, butter or oil, an oven, and of course, plants.
Edibles are the most effective way to get high, after they’re ready you won’t need papers, a lighter, or anything else and the effect can be quite strong even for avid consumers. However, making them can be tricky if you don’t know how to make them properly so if you want to know how to make plants edibles, read along.
1. Why Make Edibles?
Edibles are usually consumed by medicinal patients who need a strong effect to alleviate chronic pain or other disorders, by consuming plants in food, you leave out the smoke and other bad sides of consuming plants which aren’t a big problem for most consumers but are a huge con for some.
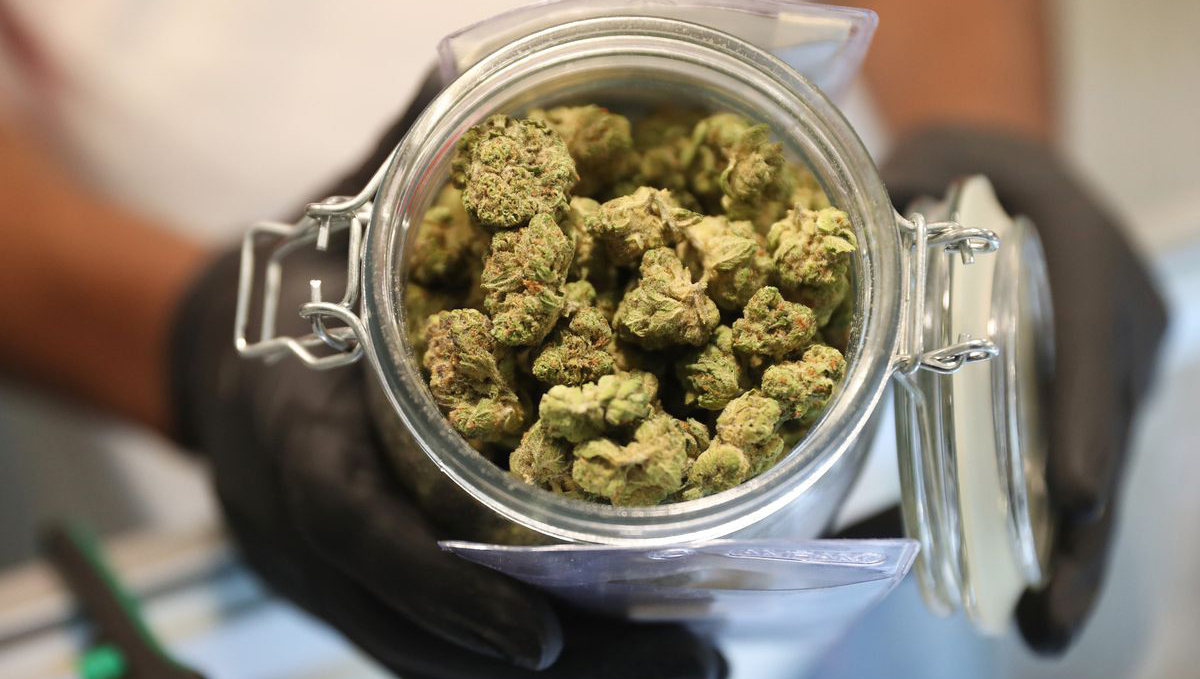
Making edibles the correct way allows you to consume the correct dosage you need and at any time you want, so to help you make your own medicine at home we’ve come up with this article.
2. The History of Edibles
The history of plants used in cooking can be traced back to early China. Records from the Tang Dynasty (618-907 AD) show that plants was being used as a food flavoring and preservative. In India, plants has been used for centuries in traditional Ayurvedic medicine as a treatment for a variety of illnesses.
Though the use of edibles can be traced back to ancient times, the history of edibles in the United States is relatively young. The earliest evidence of edible use in America comes from the Jamestown colony in 1611, where English settlers found Native Americans using plants to make a type of tea. Edible use continued to grow throughout the colonies, and by the early 1800s, plants was being used to make a variety of food and drink products, including beer and wine. It was also being prescribed by doctors for a range of ailments and was found in a huge range of different medicinal tinctures of the day.
However, edibles fell out of favor in the early 1900s as plants was demonized and eventually outlawed. It wasn't until the late 20th century that edibles began to regain popularity, thanks in part to the growing acceptance of plants. Today, plants edibles are becoming increasingly popular, thanks in part to the growing legalization of medical and recreational plants. Cannabutter is one of the most popular ways to infuse plants into food. Cannabutter is made by simmering plants buds in butter or oil, which extracts the strength and flavor from the plant material. The resulting butter or oil can then be used in any recipe that calls for butter or oil.
Plants-infused coconut oil is another popular option. Coconut oil is a natural anti-inflammatory and has a high smoke point, making it a good choice for cooking with plants. It can be used in baked goods, smoothies, or simply eaten with a spoonful. It also adds a lovely coconut flavor which pairs beautifully with most sweet edible options. If you are interested in learning about making your very own plants-infused oil or butter (plus a range of other ways to infuse strength) then hang about, as we will dive headfirst into all the options a little further down in this article.
3. Calculating Dosage
Before making your edibles it’s essential you know exactly how much strength you want to consume with each portion and how much strength is in the flowers, extractions, or whatever you’re using.
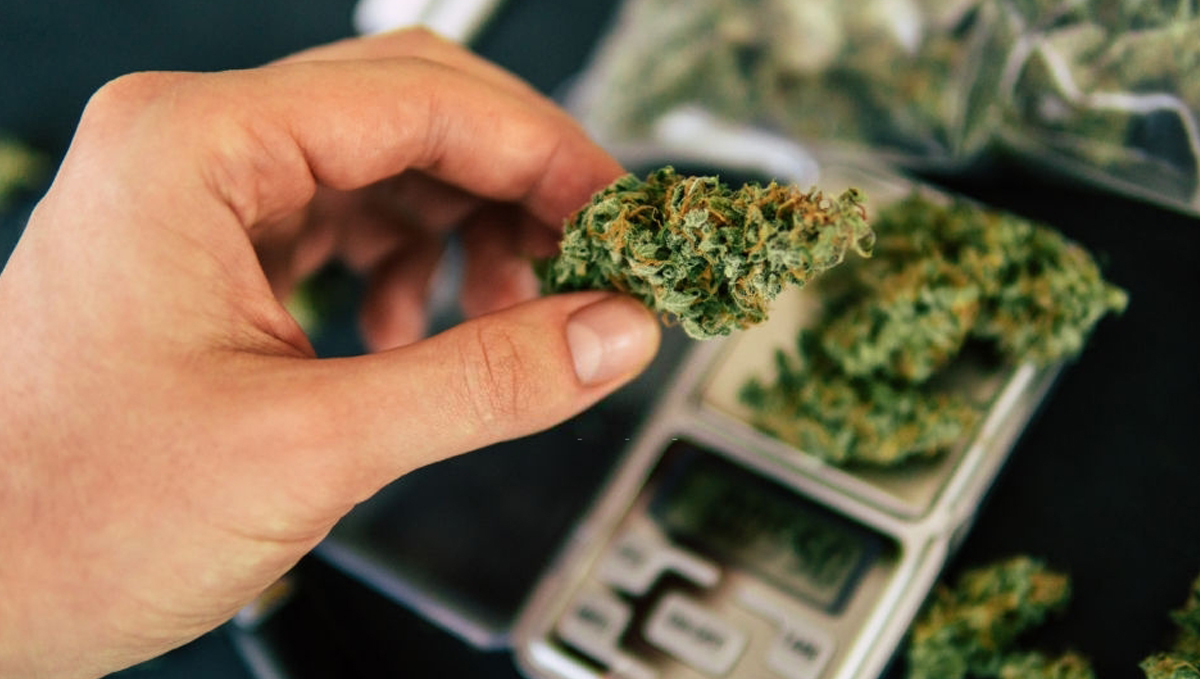
Now, this can be easy if you live in California because every product that you buy at a dispensary comes with a lab test that provides exactly what it contains but if you’re growing your own plants or making your own extractions, it can be quite hard so this table will help you figure it out.
| strength Content per gram | ||
|---|---|---|
| Plants product | strength percentage | strength content |
| Brick plants | 3-6% | 30-60mg |
| Regular home-grown flowers | 15-20% | 150-200mg |
| Top-shelf plants | 20-30% | 200-300mg |
| Extracts | 60-90% | 600-900mg |
Remember that once you’ve consumed your plants there’s no effective way to stop the effect so we recommend going slowly and experimenting with different amounts to know what you’re comfortable with and what works for you.
| Recommended strength mg per serving | |||
|---|---|---|---|
| Consumer tolerance | Weak | Recommended | Strong |
| Very low tolerance | 0.3mg | 3mg | 10mg |
| Low tolerance | 0.5mg | 10mg | 20mg |
| Medium tolerance | 10mg | 10-25mg | +25mg |
| High tolerance | 25mg | 25-60mg | +60mg |
Have in mind that this table is just an approximation to help you better dose your plants edibles. If you already know the strength percentage of your plants, you can read our post on dosage calculation to measure it exactly.
By the way, it doesn’t have to be strength. If you’re only looking for medical benefits and dislike mind-altering effects, you can make edibles from a Extract-rich seed, too. But you’ll probably have to grow one yourself. Something like our Extract Auto 20:1. This auto contains 20% Extract and as low as 0.3% strength, making it perfect for medical patients. And growing it isn’t hard at all, requiring neither special skills nor expensive equipment.

4. How To Make Plants Edibles
Making edibles is relatively simple but there are several methods which will work better depending on how you want to consume your edibles, you can make plants-infused alcohol, baked goods, salads, gummies, ice-cream, lollipops, and several other things but all of them start with three basic products: plants tinctures, cannabutter or plants oil.
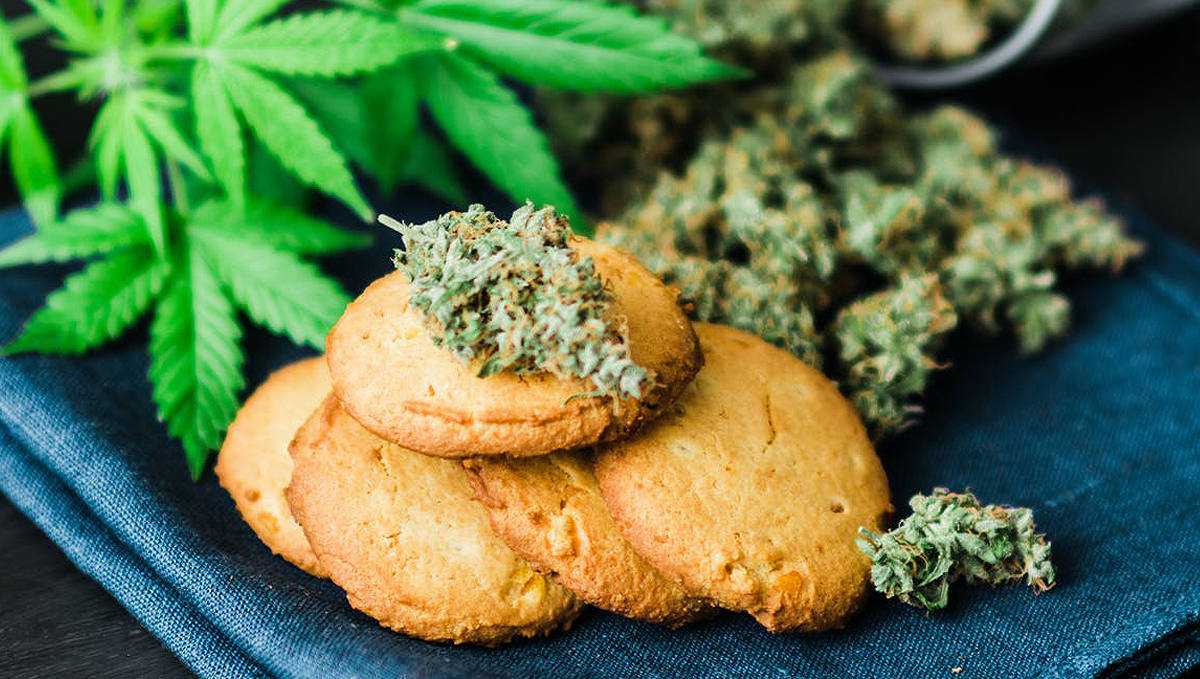
In this article, we’ll teach you how to make these three plants derivatives step-by-step and we’ll include a good recipe for you to enjoy them, just remember that you can do any type of edible you want so get creative and experiment at home.
Decarboxylation
Decarboxylation is the process of converting strengthA to strength, this process occurs when you’re smoking or vaping plants. But when cooking, first you will need to activate the strength for you to get the desired effects.
Step 1
Preheat your oven to around 100 °C. The temperature cannot go over 105°C because it will evaporate the strength. If you are worried about the temperatures going up, you can do this process at 90°C to be safe, but it will take a bit longer.
Keeping the temps a bit lower also makes sense if you want to preserve the plants’s unique flavorene profile, like in our Strawberry Banana Auto. Losing this seed’s incredibly rich and varied aroma to overheating is almost criminal.
Grind your flower into a fine consistency, if you’re using kief, trims, or extraction there’s no need to process it.
Step 2
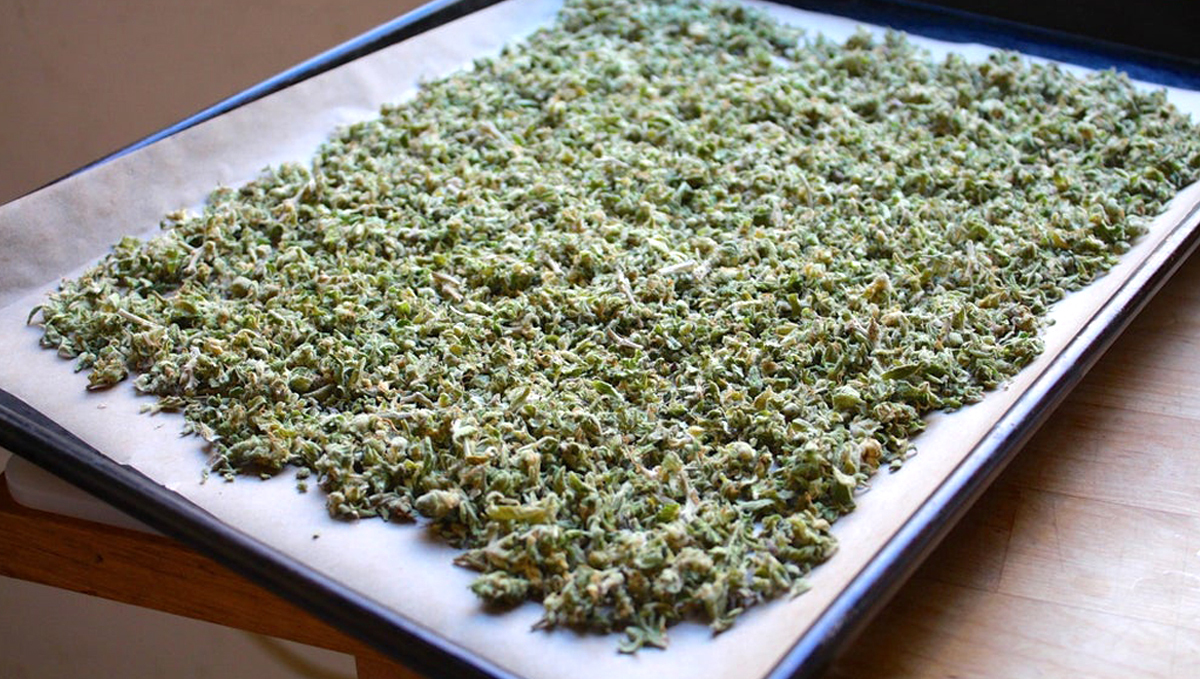
Place a sheet of parchment paper or tin foil on a baking sheet and spread it all over it. You want to have one thin layer of flower (extract, kief, or whatever) so if you have too much, just divide it in half. If the layer isn’t thin, your plants won’t decarboxylate properly and you will waste precious strength.
Step 3
Place the baking sheet in the oven, 20 min should be enough for around 5g but it may take longer (or less) depending on the amount you are decarboxylating at a time, if you’re using more than 5g you should check your plants every 20min.
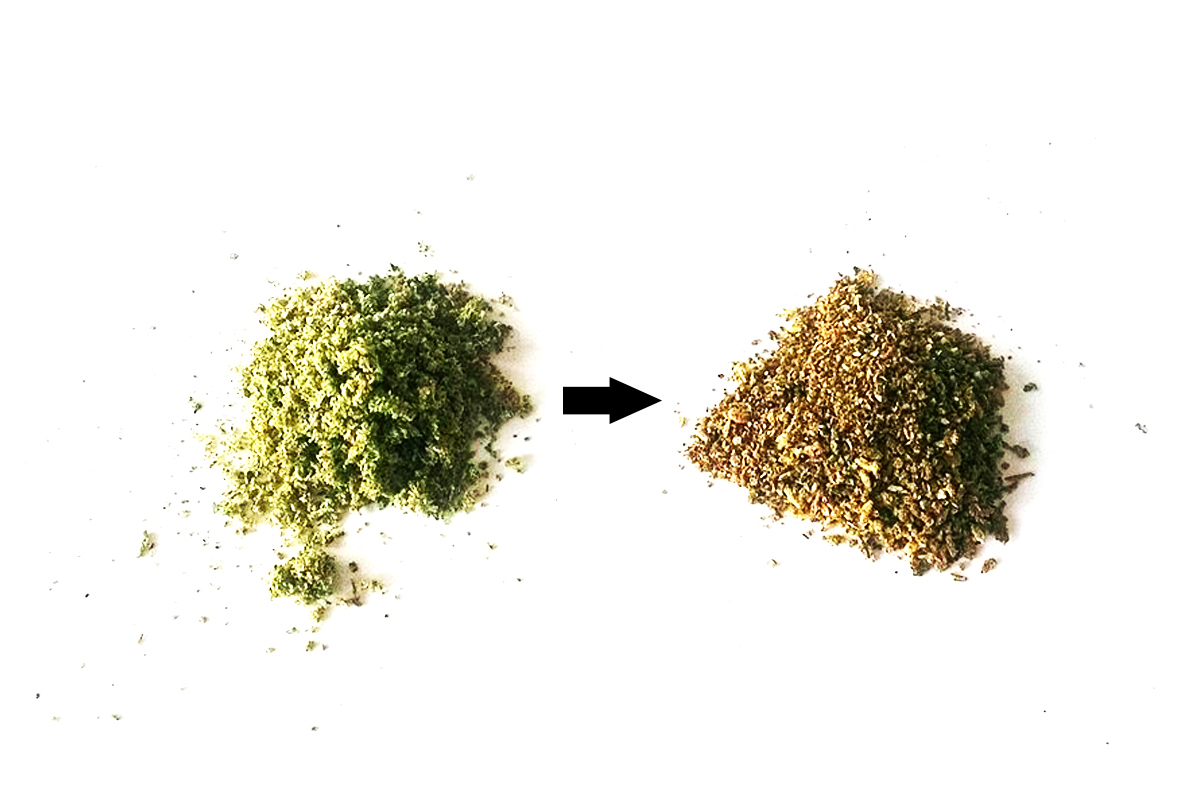
When your plants has turned into a light brown color it means it has been properly decarboxylated, even though it might seem hard, you will be able to tell the difference in the color and smell, you just have to pay close attention.
After your plants has been decarboxylated just let it cool down and it’s ready to be used any way you want, if you don’t know how to use it, we recommend following any of the recipes below.
5. Plants Tinctures Recipes
Plants tinctures are basically plants extracts made with alcohol and are a great way for mainly medicinal but also recreational consumers to get the desired effects without actually smoking plants.
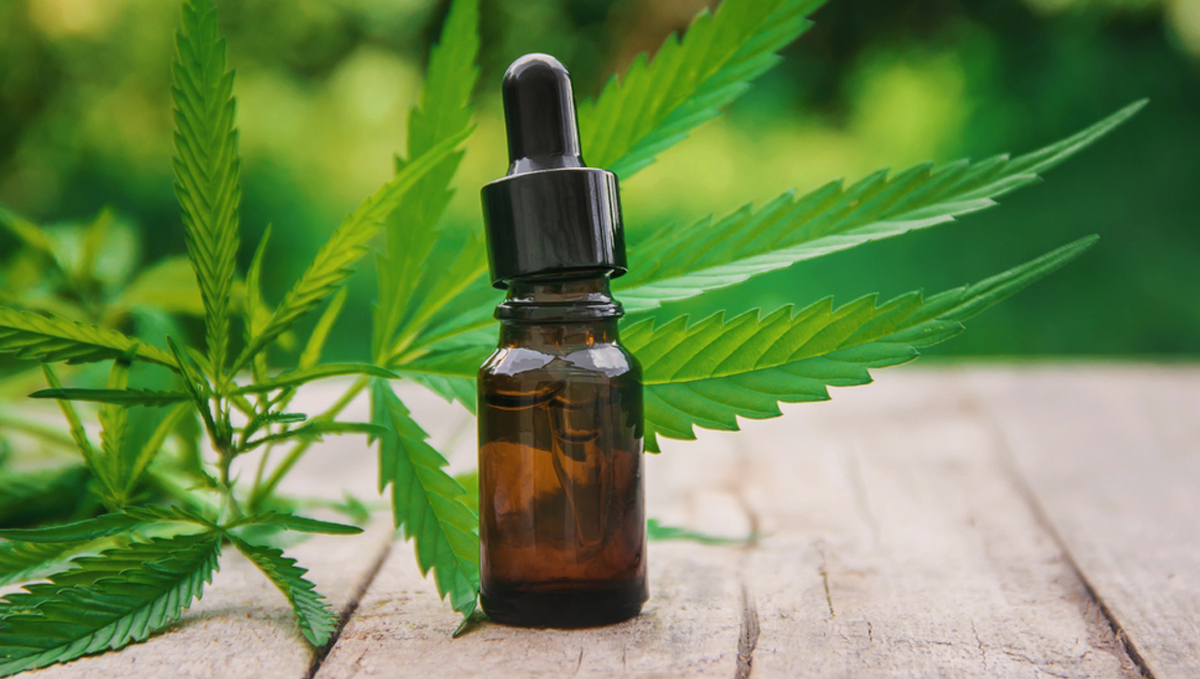
This type of extraction is super versatile and can be used on a salad, cookies, gummies, or taken straight. As long as you don’t heat it, it’ll work for sure. And because of its versatility, it ends up being one of the best ways to consume plants for medicinal patients.
Well, it’s probably not the cheapest. But it’s hardly a problem for those who grow their own plants from auto plants seeds. Autos are surprisingly productive and can bring you so much bud in mere 9-10 weeks from seeds that you’ll exhaust all the recipes online before your stash runs out. Or you can smoke the bud and use the trim for cooking. You’re sure to have lots of it, too.

How To Make Plants Tinctures
One of the benefits of plants tinctures is its versatility, tinctures can be mixed in whatever you like and even taken straight. It's a great option for new plants users who are only looking for medicinal extracts or a smoke-free way of consuming plants.
So what will we need in order to make plants tinctures at home:
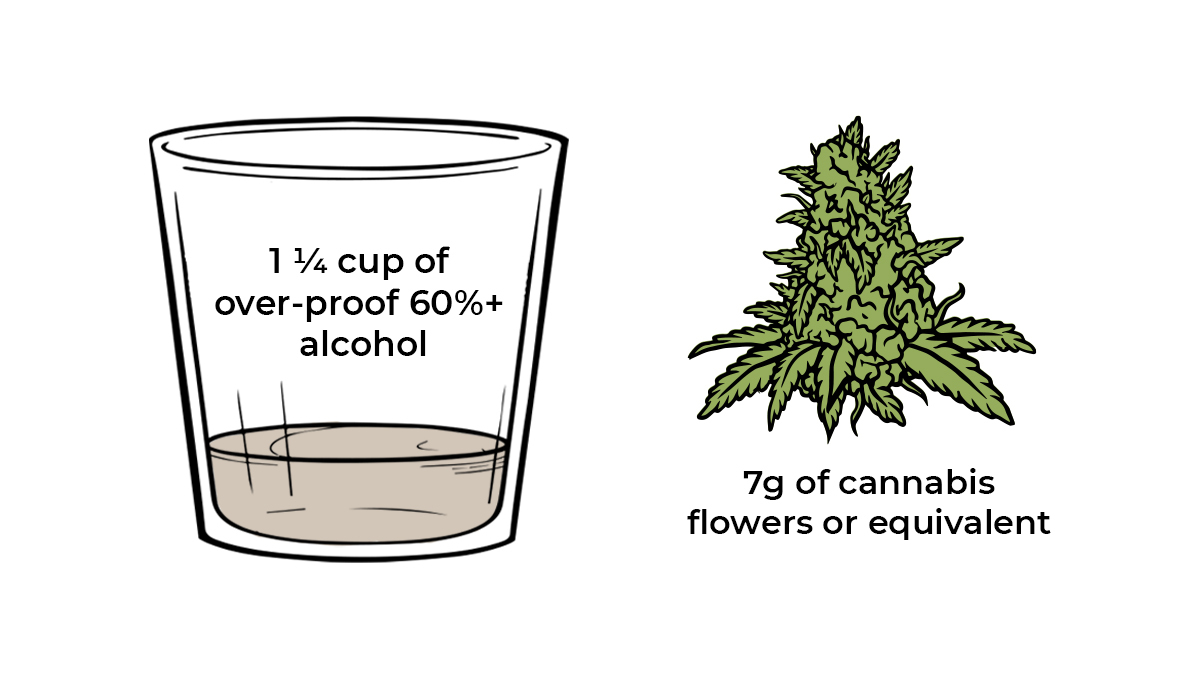
Ingredients
- 1 ¼ cup of over-proof 60%+ alcohol (vodka, rum, or anything with more than 60% alcohol);
- 7g of plants flowers or equivalent (approximately 1400mg of strength).
* If you take high-Extract plants, such as our Extract Auto 20:1, the same 7 g will contain about 1400mg of Extract.
Step 1
Decarboxylate your plants as explained above.
Step 2
Place the decarbed plants in a heat-proof glass container (like a mason jar or something similar) and pour the alcohol in (you can use vodka or rum but remember that the better the quality of the alcohol, the better the product you’ll end up with).
Step 3
Boil water in a small cooking pot, place the glass container with plants in it in the middle and make sure the water level reaches about half of it.
Step 4
Use a thermometer to ensure the temperature is around 75-80°C and let the alcohol evaporate, this process should take around 20min, as the alcohol evaporates some plant material might stay on the sides of the glass container so scrape it down so it’s always in contact with the alcohol.
Step 5
Use a tea seeder to seed the remaining liquid, you can use cheesecloth but it usually absorbs a lot of your tincture so a tea seeder works best.
Step 6
Repeat the process, use the same plants, and add more alcohol to ensure you’re extracting everything you can.
Step 7
After evaporating all of the alcohol, your tincture is now ready to be consumed. You can straight drink it but we recommend making gummies which is a really effective and delicious way to medicate yourself.
How To Make Plants Gummies
If you're a fan of plants edibles surely you've heard of plants gummies. Plants gummies is a great choice because they allow you to microdose all day long and due to their size, you can fit a lot of gummies in a small container.
If you're still wondering how hard can it be to make them yourself, here's a recipe to follow.
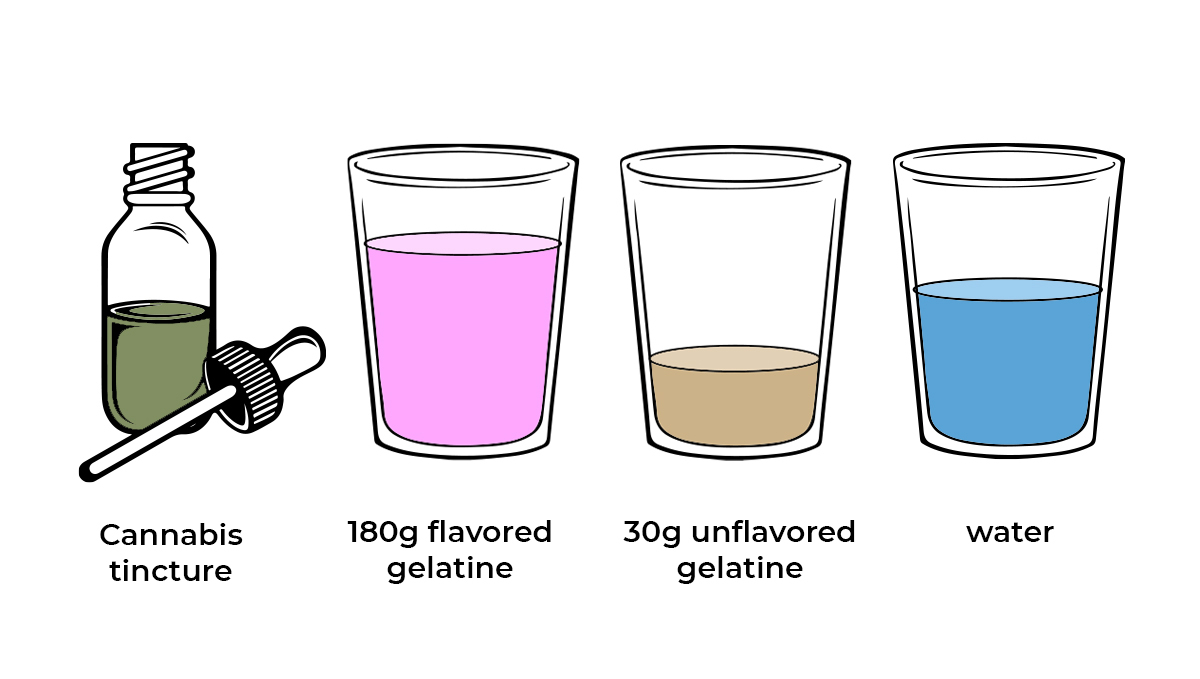
Ingredients
- Plants tincture;
- 180g flavored gelatine;
- 30g unflavored gelatine;
- Water.
Making these gummies is extremely simple, you just have to make all the Jell-O like you usually would then combine it and leave it to cool down.
After it has been cooling down for about 20min you can go ahead and mix the tincture in, spray the molds with cooking spray so the gelatine comes scout easily, and take it to the fridge.

When the Jell-o is firm they are ready to be consumed. Remember to store them in the fridge or freeze them if you’re planning to store them for more than a couple of weeks, you can also store them in an airtight container but only for 2-3 days.
Tip: If you have a high tolerance you can also mix a bit of the tincture with sugar to dip the gummies in and make them super strong!
6. Cannabutter Recipes
The main difference between tinctures and cannabutter or oil is what you can use them for. Cannabutter cannot be used in recipes that don’t require butter (obviously), like gummies or ice cream. So you're limited to baked goods, but it will work like a charm if you use it for your plants cookies recipe.
You can even bring it to the next level by making cannabutter from some “cookies” seed, such as our own Gorilla Cookies Auto with its hints of sweet baked goods in the flavor. And don’t be put off by it being an auto. Modern auto seeds are just as tasty and potent as traditional varieties.

How To Make Cannabutter
When we say cannabutter, you can use any kind of butter, ghee, or even lard will work, but we'll recommend using butter because it's delicious. Making your own cannabutter home is easy and you will need only two ingredients.
Slow Boil Cannabutter Recipe
Ingredients
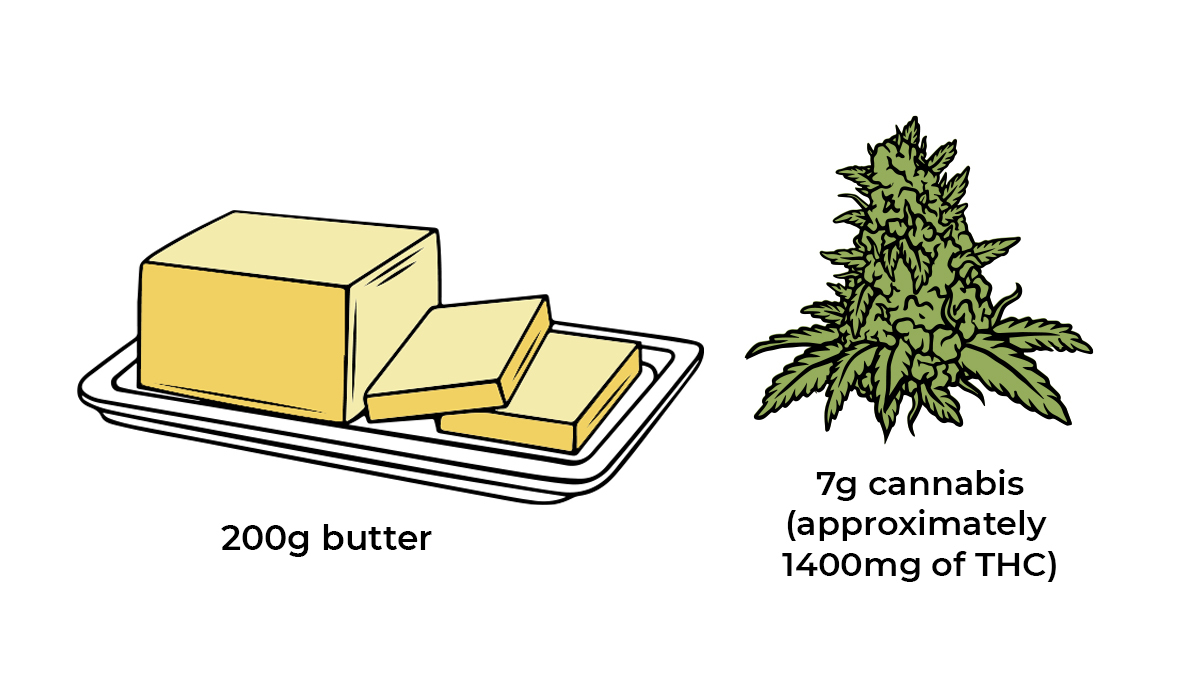
- 200g butter
- 200 ml water
- 7g plants (approximately 1400mg of strength)
Step 1
Decarboxylate your plants.
Step 2
Mix 200ml of water with the butter in a heat-proof glass jar and place the jar in the middle of the pot, add water to the pot until the water level reaches half of the glass jar.
Step 3
Turn the heat to low and let the butter melt slowly, the water that you’ve mixed with the butter will prevent it from burning.
Step 4
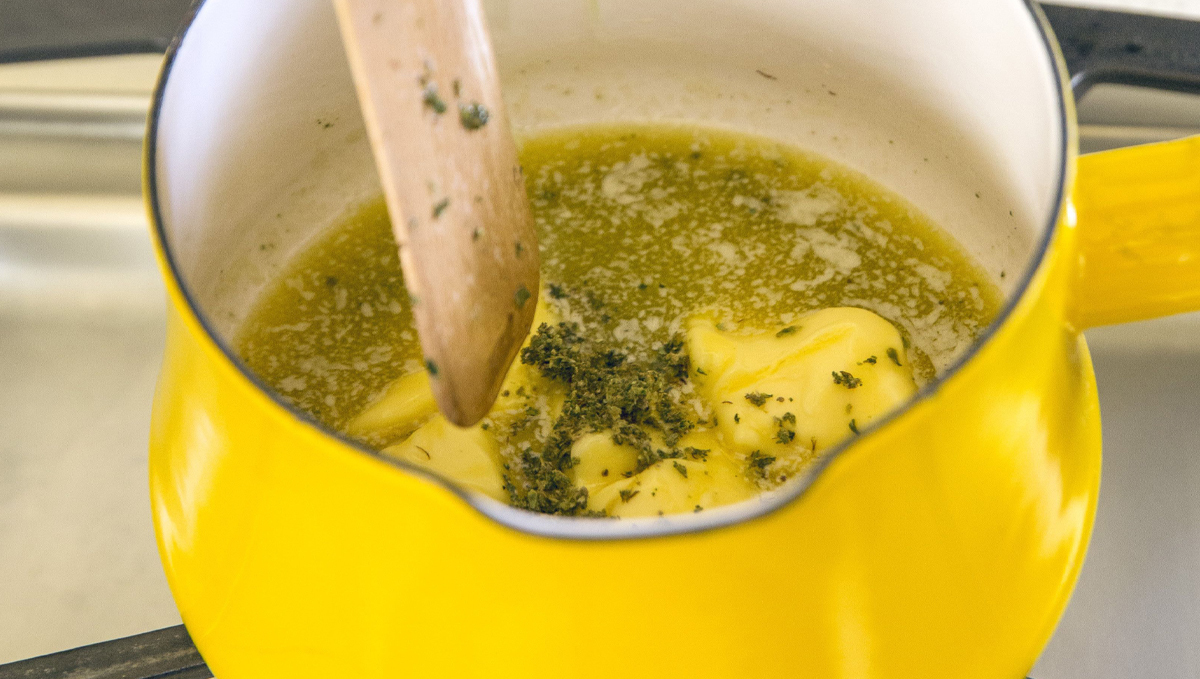
Mix the plants with the butter as soon as the butter melts and when the temperature reaches around 85°C, let the mixture simmer for 2-3hs, stirring occasionally.
Step 5
After 2-3hs have passed and the butter has turned dark green, seed the mixture with a cheesecloth or tea seeder, place the mixture in a glass container and refrigerate it.
Step 6
When the butter solidifies again, use a knife or spoon to remove it from the glass container so you can drain the water out and it’s ready to be used. This recipe is great for anyone looking to make a super potent batch of cannabutter, beautiful you are in a bit of a rush you can always use the fast cook method.
Quick Cannabutter Recipe
Ingredients
- 200g butter
- 7g plants (approximately 1400mg of strength)
Step 1
First up, make sure you properly decarb your plants. This ensures the maximum potency of the finished oil. You can use fresh plants that hasn't been decarbed, but the end result will not be as potent as oil that has been made with decarbed plants.
Step 2
Put a small bot over low heat and slowly melt the butter. Be careful not to burn the butter. You can add 30ml of olive oil which will help stop the butter from browning or burning.
Step 3
Add the plants into the melted butter and oil mixture, and slowly stir the mixture for at least 20 mins. Do not leave the mix unattended, as this can burn very easily.
Step 4
Once at least 20 mins have passed, you can take the pot off the heat and let it cool. To speed the cooling process up you can place the saucepan into an ice-filled bowl. Once it has cooled to the point where you can handle it without burning yourself, pour the whole mixture through the cheesecloth and squeeze to extract as much of the cannabutter as possible. This will keep for a couple of months in the fridge.
When trying out this recipe, we’ve used our Gorilla Cookies Auto with its hints of sweet baked goods in the flavor. We thought it really made a difference taste-wise, and it packed quite a punch, too.
How To Make Cookies With Plants
Making plants-infused cookies is very simple and you can have less work by buying a boxed cookie mix but if you want to make it from scratch, here’s how to do it.
Ingredients
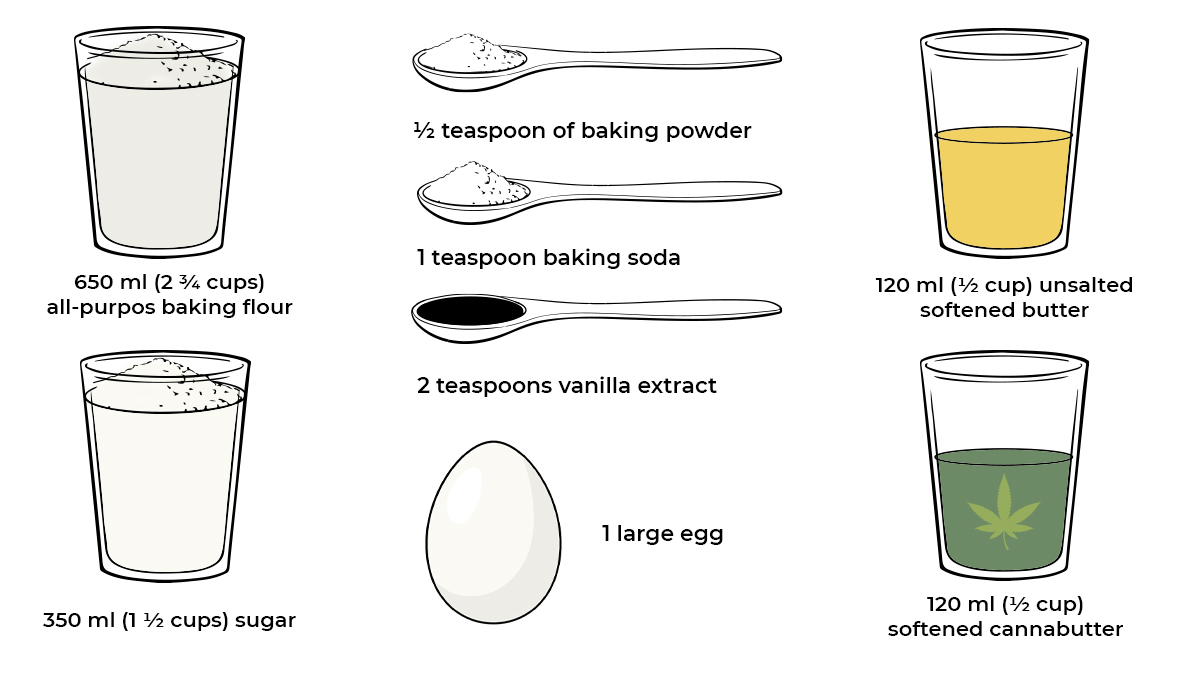
- 650 ml (2 ¾ cups) all-purpose baking flour;
- ½ teaspoon of baking powder;
- 1 teaspoon baking soda;
- 350 ml (1 ½ cups) sugar;
- 120 ml (½ cup) unsalted softened butter;
- 120 ml (½ cup) softened cannabutter;
- 1 large egg;
- 2 teaspoons vanilla extract.
Mix the baking soda, flour, and baking powder in a small bowl and set aside.
Make sure both "butters" are at room temperature, mix them in a large bowl with the sugar until it forms a uniform creamy texture, if you are using an electric mixer it should take around 3 min.
Mix in the egg and vanilla extract with the butter and sugar, and mix gently.
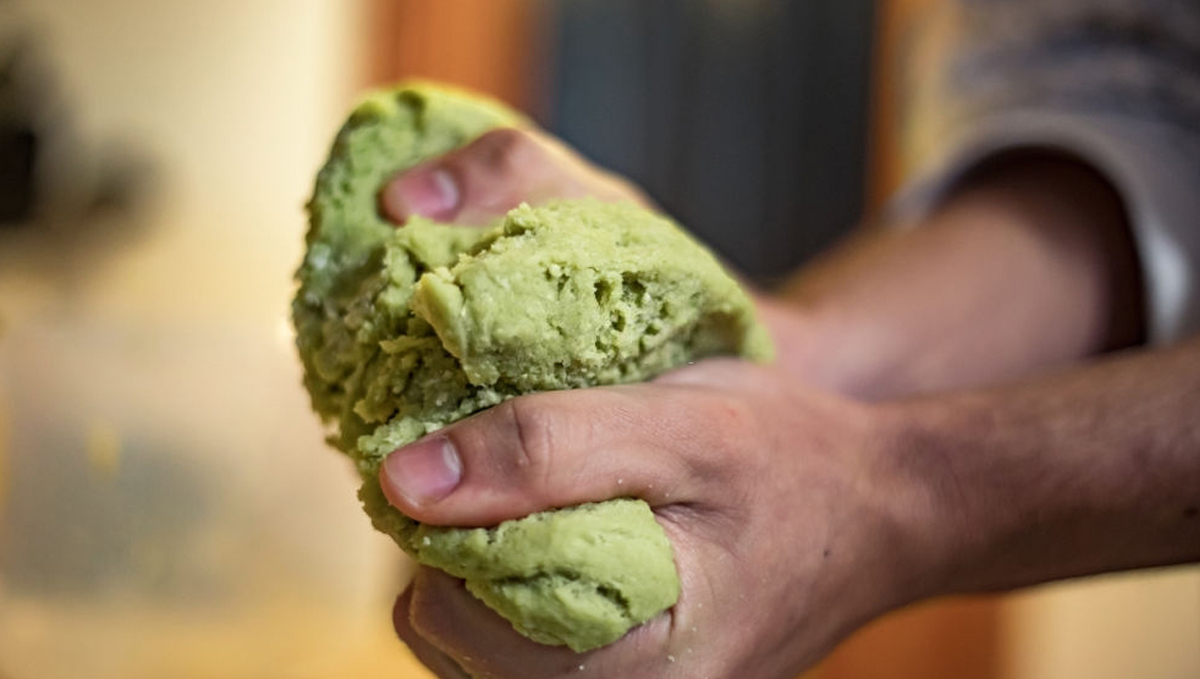
Now you can make the dough balls, place them on a baking sheet and let them bake for 8-9 min until they’re brown and crispy, and that’s it!
7. Canna Oil Recipes
Last but not least you can make your own plants-infused oil that you eventually can add to your edibles recipes. Now, depending on the type of oil you're using, you can not only use it for making food but also for using it on your skin.
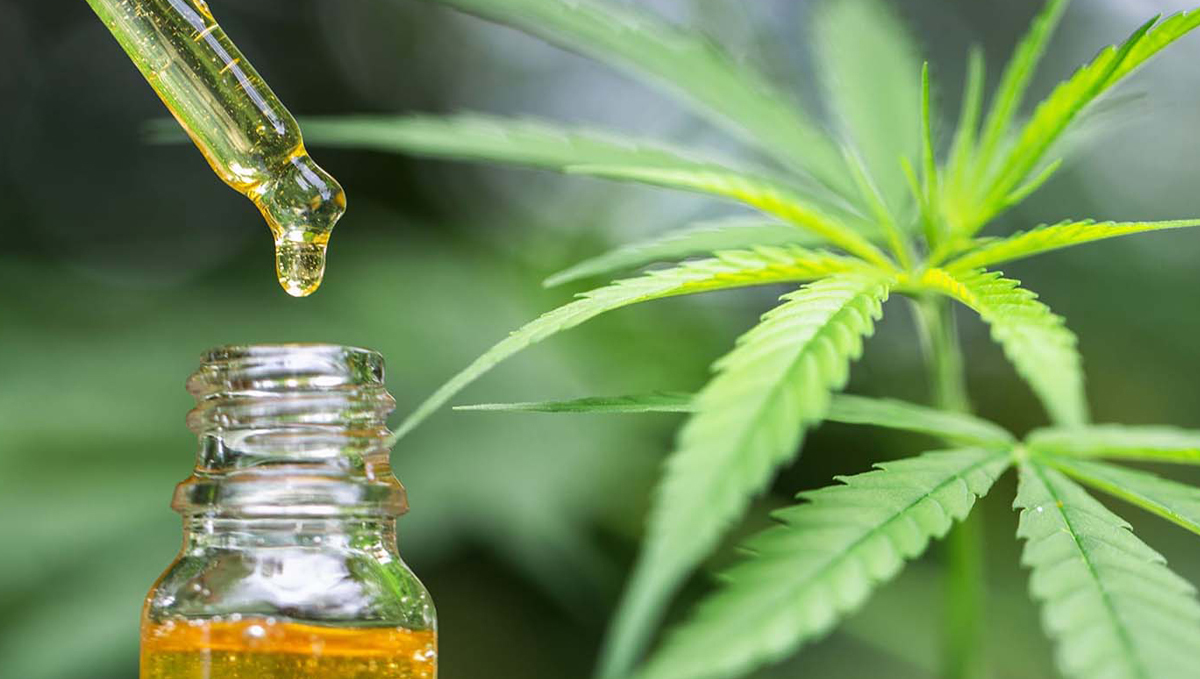
You can infuse coconut oil, olive oil, sunflower oil, or any type of oil you prefer, and as long as you store it in a glass jar it can last up to a year!

How To Make Canna Oil
Now, as said above, plants oil can also be used as a topical lotion, your skin will end up absorbing the strength and you will have an effect like you would when eating.
We recommend using coconut oil or olive oil if you want to use the infused oil on your skin but if you're going to eat it, you can use whatever oil you wish to use.
Quick Plants Infused Oil
Ingredients
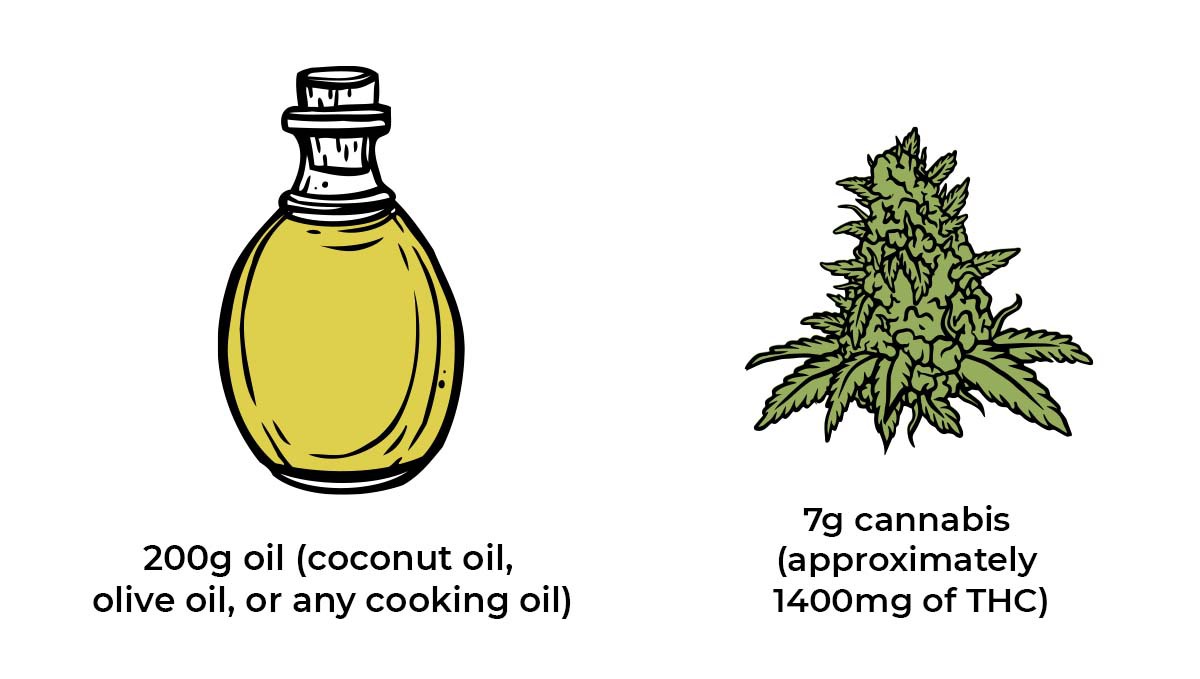
- 200g oil (coconut oil, olive oil, or any cooking oil);
- 7g plants (approximately 1400mg of strength).
Step 1
Decarboxylate your plants.
Step 2
Place the plants in a small saucepan with the oil.
Step 3
Simmer in low heat (approx. 85°C) for 10-20 min or when the oil starts turning green. Remember that the low heat is necessary so you don’t evaporate the strength.
Step 4
Remove from heat and let it cool down for around 30min and then seed it with a cheesecloth or a tea seeder to separate the oil from the plants and is now ready!
Step 5
Store the oil in a glass jar, if stored in the fridge, it can last for up to a year.
This quick recipe works great, but for the best results you should go with the slow-cook method.
Slow Boil Plants Infused Oil Recipe
Ingredients
- 200g oil (coconut oil, olive oil, or any cooking oil);
- 200 ml water
- 7g plants (approximately 1400mg of strength).
Step 1
As always, let's decarb our plants first. Remember, this recipe can be made in larger batches. If you want to make double the amount of oil, just double the amount of water and plants in the recipe.
Step 2
Add the water and oil to a saucepan and bring to a boil. Once you have a rolling boil, reduce the heat to a low simmer.
Step 3
Add your decarbed plants, and let the mixture bubble away on low heat for a few hours. Some people think that it is best to let it boil for an hour, then turn the heat off for an hour, and then repeat the process over again for up to 8 hours. This is a little complicated, and we prefer to just let the whole thing boil for around 6 hours. If you have a slow cooker available then use it, this works really well for making slow-cooked plants oil.
Step 4
Once the cooking process has finished, leave the mixture to cool. Once cool enough to handle, pour it into the cheesecloth over a large bowl and squeeze to make sure you extract as much of the oil as possible while removing all of the plant material. This bowl is then placed into the fridge or freezer.
Step 5
Once the mixture has fully chilled, the oil will solidify at the top. This can then be removed, reheated, and poured into a glass jar. This will keep in the fridge for up to a year and can be used in place of any oil or butter in any recipe.
How To Make Pot Brownies
Now that you have your canna-oil stored and waiting to be used, you can step up your game and impress your friends with a hot plate of plants brownies. You can follow whatever recipe you want to but if you want to make super delicious and potent brownies, just follow our recipe.
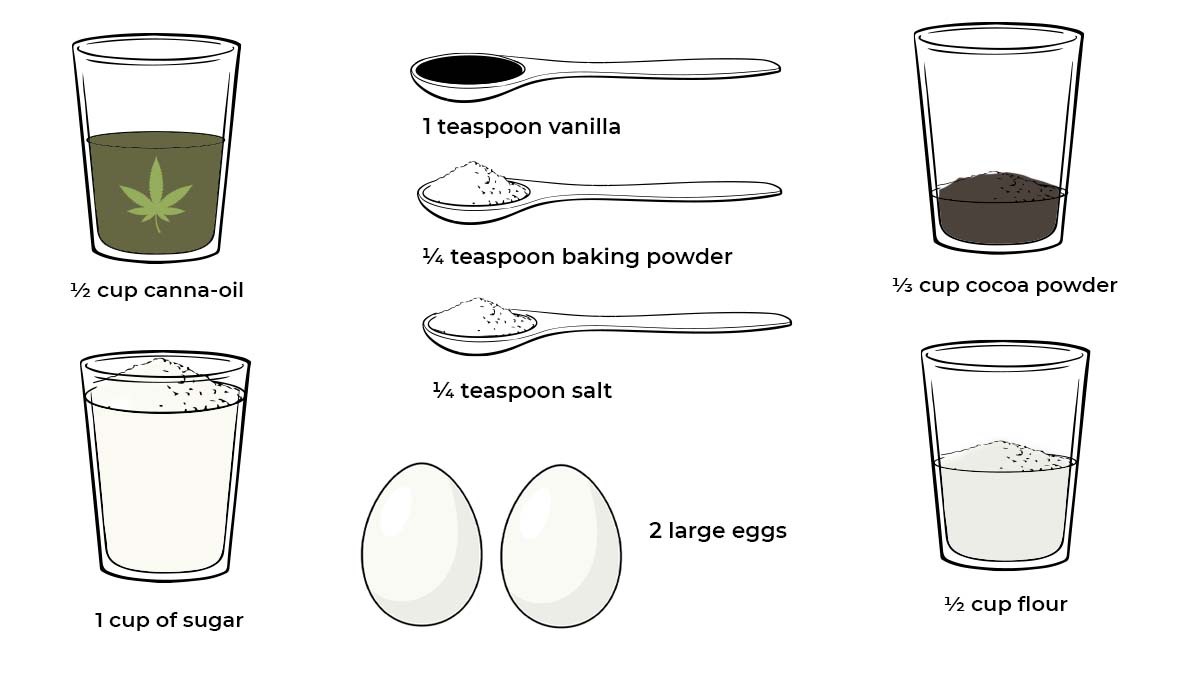
Ingredients
- ½ cup canna-oil
- 1 cup of sugar
- 1 teaspoon vanilla
- 2 large eggs
- ¼ teaspoon baking powder
- ⅓ cup cocoa powder
- ¼ teaspoon salt
- ½ cup flour
Just like said above, if you want to keep it simple you can use a boxed brownie mix but today we’ll teach you how to make it from scratch.
Preheat your oven to 180°C, mix oil and sugar until well blended and then add the eggs and vanilla.
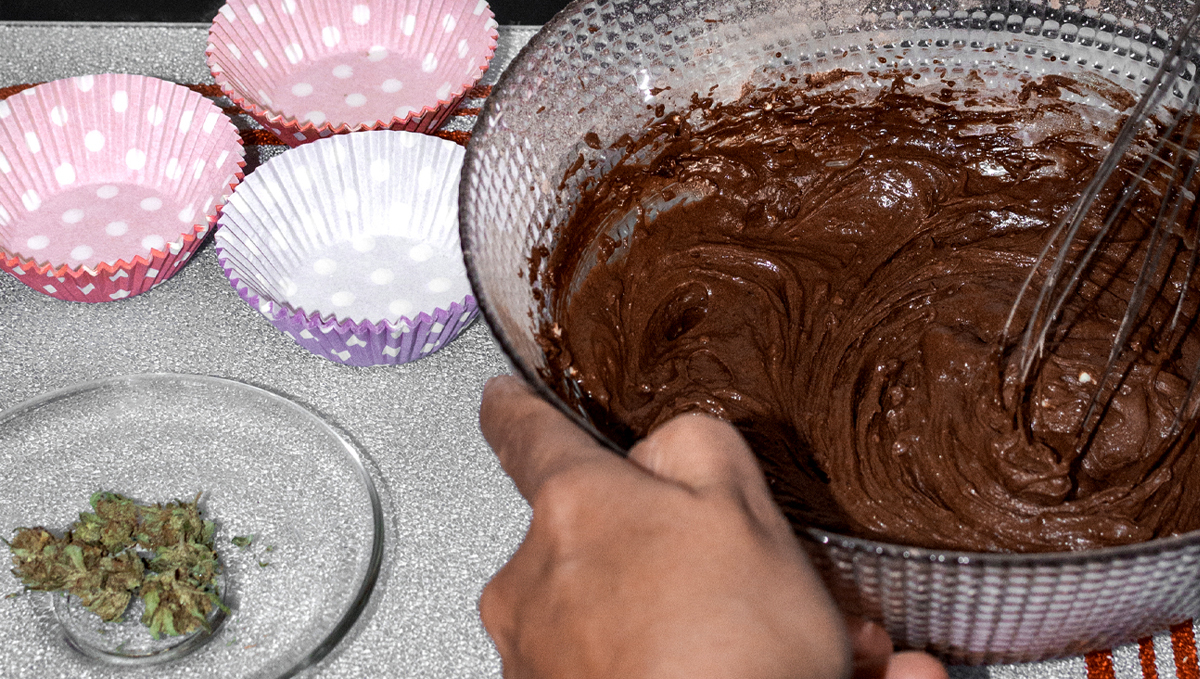
Mix all the dry ingredients in a separate bowl, then mix them in the oil/sugar blend and pour it into a 22x22cm square pan, bake for 20min or until the sides start to pull away from the pan.
Let the brownies cool down and enjoy!
8. Plants-Infused Milk recipes
One of the newest infused edibles is plants milk. Milk is a versatile and tasty way of consuming plants as it can be used in several different ways, from ice cream to coffee to tea, so make sure to read along to learn how to make this tasty and unusual plants-infused edible.
HOW TO MAKE CANNAMILK
Making plants-infused milk is pretty simple and does not require a lot of ingredients. You’ll probably have everything you need at home.
INGREDIENTS
Everything you’ll need is:
- 7 grams of decarboxylated plants;
- 500 ml to 1 L of milk;
- and cheesecloth.
STEP 1
So first of all, go ahead and decarboxylate the plants by following the process explained above. Now, you don’t necessarily need to use 7 grams, you can use more or even less as it depends on your tolerance.
STEP 2
After decarboxylating your plants, put the milk in a saucepan and mix in the plants at low heat for 30-45 minutes, stirring frequently. Make sure the milk does not come to a boil and continue mixing until it gets a yellowish-green coloration.
STEP 3
After the 30-45 minutes have passed, let the milk cool down and seed it through the cheesecloth into a glass container.
Remember that you don’t necessarily need to use regular milk. You can infuse any type of milk, including goat’s, soy, rice, oat milk, or any other type of milk you prefer. Just keep in mind that the higher the fat content, the better as strength binds with fatty liquids. Also, depending on how strong you want it to be, you could leave it for 60 minutes or more, just make sure the milk does not come to a boil!
How Can I Consume Plants-Infused milk?
If you’re wondering what you can milk with plants-infused milk, the options are endless. You can add your plants milk to coffee, milk-based smoothies, delicious plants-infused ice cream, or tea, or add it to your cereal. The most important thing is to remember that you should always calculate the dosage before consumption as a certain dose can be overwhelming to some and not enough to others. If you don’t know exactly how much plants there’s in your milk if you don’t know its potency, make sure to test your plants milk and try a small amount at first, and see how it goes as edibles usually take longer to kick in but provide a much potent high. This takes us to our next topic.
How long will it Take for Plants Milk to kick In?
Most infused liquids will kick in faster than “solid” edibles so depending on the strength content, your plants milk could kick in as little as 30 to 40 minutes, although it depends on your tolerance and metabolism. This is why we always recommend consuming edibles and waiting at least 1 hour before consuming more as you will definitely feel the effects, so there’s no need to consume a lot at once. So start low and go slow!

9. More Great Edible Recipes
Before we sign off today, let's quickly run through a couple more amazing edible recipes that will have your friends screaming for more!
Plants Caramels
Who doesn't love soft caramel?
Ingredients:
- 1 cup of cannabutter of plants-infused oil (we recommend coconut oil for this recipe)
- 2 cups of brown sugar
- 1 cup of white sugar
- 1 (14 ounces) can of sweetened condensed milk
- 1/2 cup light corn syrup
- 1 teaspoon vanilla extract
- 1/4 teaspoon salt
Directions:
1. Line an 8 x 8-inch pan with parchment paper and set aside.
2. In a large saucepan, melt the cannabutter or plants-infused oil over low heat. Stir in brown sugar, white sugar, sweetened condensed milk, light corn syrup, and vanilla extract.
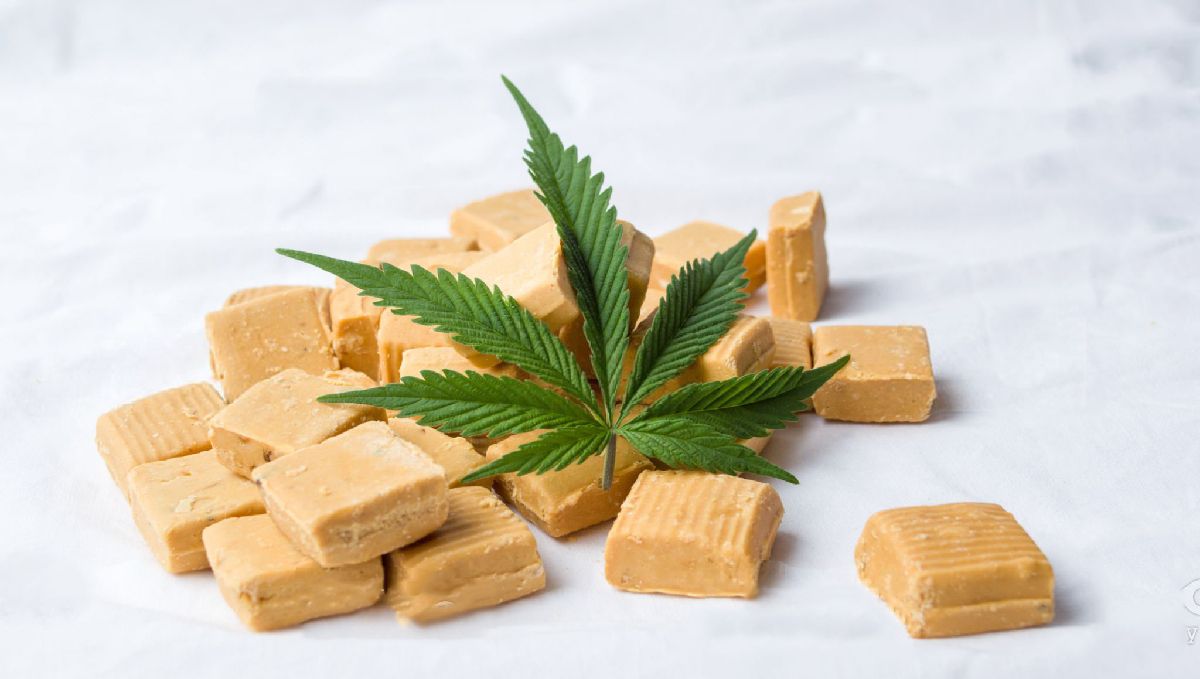
Cook over medium heat, stirring constantly until the mixture comes to a boil. Remove from heat and stir in salt.
3. Pour the mixture into the prepared pan. This pan MUST be lined with baking paper, otherwise, it will stick. Cool until firm, about 2 hours. Cut into squares and wrap in wax paper.
Plants Rice Krispie Treats
This is one of the simplest, easiest, and fastest ways to make a delicious edible treat!
Ingredients:
- 1/2 cup cannabutter
- 1 10 oz package of marshmallows
- 6 cups Rice Krispies cereal
Directions:
1. In a large saucepan, melt cannabutter over low heat. Add marshmallows and stir until completely melted. Remove from heat and stir in Rice Krispies cereal until well coated.
2. Press the mixture into a 9 x 13-inch pan. Cool before cutting into squares.
3. Drizzle melted chocolate over the finished caramel to give it that extra-special look.
10. In Conclusion
Edibles are a great alternative to get high without having to deal with fire, smoke, and especially, smell. We recommend you try these recipes and if you have other good homemade recipes that you would like to share with fellow growers, please leave a comment in the comment section below!
This post is brought to you by FastBuds, the world’s leading breeder of auto seeds. With our 10 years of expertise in working exclusively with auto genetics, we keep creating seeds that are at the forefront of modern breeding. We not only sell the most sought-after varieties U.S. dispensaries have to offer but also provide stellar customer support to thousands of growers worldwide.
External References:
- Edible plants. Canadian Medical Association Journal. -Zipursky, Jonathan & Bogler, Orly & Stall, Nathan. (2020).
- Legal plants laws, home cultivation, and use of edible plants products: A growing relationship?. The International journal on drug policy. - Borodovsky, Jacob & Budney, Alan. (2017).

Comments